Watch: Transitioning Blonde To Red With Time-Saving Tricks
Watch How To Create & Apply Red Formulas For Maximum Depth
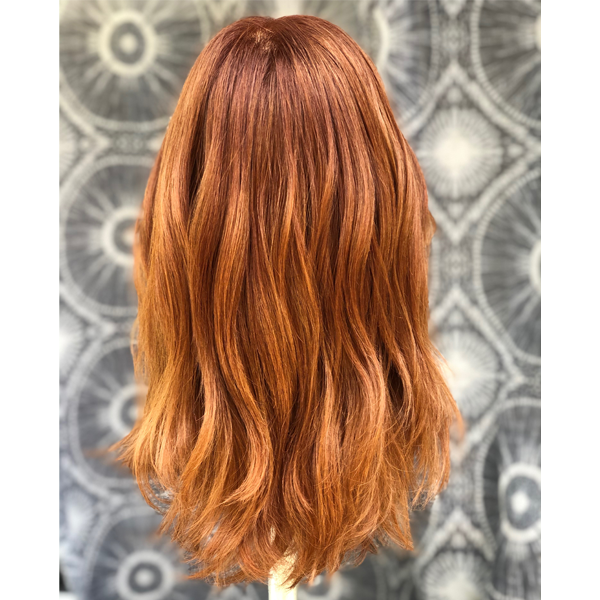
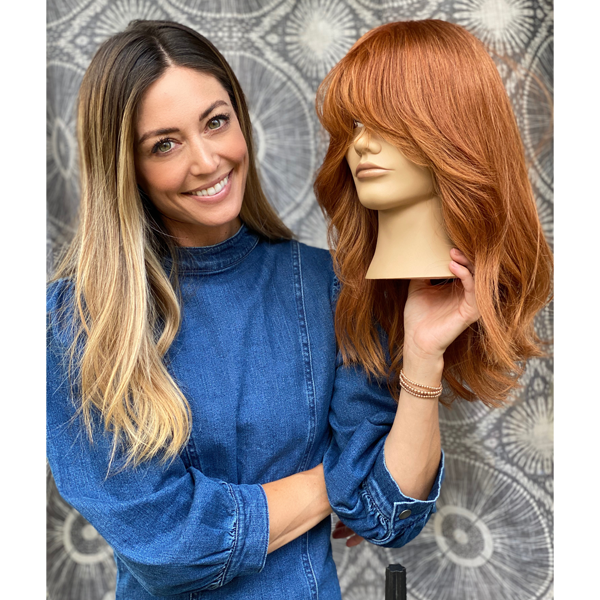
This fall’s hottest colors? Natural shades of red and copper! And we have tips on how to transition blonde clients to this must-have hue in a flash. Nine Zero One Salon’s Jill Buck (@jill901) demos how she creates reds with gorgeous depth and brightness without a lot of chair time. Psst: She also reveals why full saturation doesn’t matter! Keep reading for her formulas and speedy tricks.
Four Key Takeaways
How To Section & Part The Hair
Jill prefers to section the hair into three parts—two in the front and one from ear to ear in the back—rather than the standard four quadrants. She prefers to tackle the entire back section at once, rather than split it up, for a seamless blend.
How does Jill use her partings to add depth?
- To get the depth and dimension her clients love, when applying the formulas to the back section she uses a v-shaped parting going up the head. This way as she moves upward, more depth is continuously being added.
- Once she reaches the top of the back section, she switches to horizontal partings for more control.
- The front two sections are applied with diagonal partings.
Tip: If you’re working with an assistant, Jill recommends you both work on the same section versus working on opposite sides of each other.
Do This To Work Faster
Jill recommends forgoing clipping the hair out of the way of a parted section and use your hand instead if you want to work faster. The time it takes to section and clip away the hair does add up when you’re doing a color service.
So Your Section Isn’t Fully Saturated
If you don’t achieve full saturation on the first application, don’t fret! Once the color is applied everywhere, go through the sections again and mush everything together. This will make everything evenly saturated. Plus, the pieces that didn’t start processing at the same time as the base color will give you natural, golden highlights for an added reflection your clients will love!
What To Do When It’s Time To Retouch
So your client has come back with about an inch of grow out, what do you do? Jill will use the same base color formula at the roots, and then go in at the bowl to highlight some pieces using the midlength formula with 30-volume developer making sure to leave the ends out. Then she’d apply Joico Blonde Life QT Clear with 5-volume developer to the ends, leave on for 5 minutes and finish the hair off with an all over toner formula.
CLICK HERE To Purchase The Joico LumiShine™ Permanent Creme Color Collection That Jill Used!
Check Out The Before & After!

Grab The Formulas!


Products Used
More from
Joico
-
Curls
How To Use A Consultation To Address Curly Client Concerns
-
BTC Events
Celebrity Colorist Justin Anderson Joined BTC’s “On Tour” Nashville Benefit Show
-
BTC Hair Trend Report
The Biggest Hair Color Trends of Fall 2024
-
Blonde
Butter Blonde Guide: Toning, Lightening & Technical Tips
-
Blonde
Lightening Textured Hair: The Must-Dos & Mistakes To Avoid
-
Brunette
Soft-Dimension Brunette Without Any Lightener: Here’s How
-
#ONESHOT HAIR AWARDS
3,000 Hairstylists in one Place? Here’s What You Missed at the 2024 BTC Show
-
Monthly Product Launch List
20 Major New Hair Innovations To Kick Off Fall
-
Blonde
Dark To Beige Platinum Blonde Transformation
-
Blonde
How to Connect 6 Inches of Regrowth in Less Than 25 Foils
-
Curls
Curls Like Us™ Collection
-
Hair Color
Dark Brown To Smoked Pearl Blonde Transformation
-
BTC Hair Trend Report
8 Hair Launches to Heat up Summer
-
Business
Why Promoting Women to Leadership Positions is the Key to a Successful Hair Brand
-
Color Protecting
Blonde Life® Color Enhancing Masques
-
Detangler
Blonde Strong™ Detangler
-
Monthly Product Launch List
9 New Product Launches To Bring Into Summer
-
News
The BTC Beauty Box is Back & Better Than Ever—Same Best-Sellers, No Subscription Needed.
-
Blonde
Virgin To High-Lift Dimensional Bronde
-
Met Gala
MET GALA 2024: EVERY CELEBRITY BEAUTY LOOK FROM THE RED CARPET
-
Met Gala
GIGI HADID’S MARILYN-INSPIRED MET GALA BOB
-
Balayage
One Step, Three-Layer Multidimensional Balayage
-
Balayage
Sunset Copper Balayage
-
Monthly Product Launch List
The Best Hair Launches Of March 2024


