
Watch This Finger Wave Video + Get The Look

Finger Wave Tutorial—Keep Scrolling, Watch The Video & Get The Steps!
Color, cutting and styling quickies are all over your Instagram feed—but an amazing finger wave video is hard to come by. So, when Sean Godard dropped this oh-so-satisfying finger wave video, we couldn’t stop watching, and the hundreds of thousands of views it got on Instagram told us you couldn’t either! So we went straight to the source and asked Sean for his waving ways, plus some product and tool tips to master the technique. Check out the video and the steps below!
Products Used
Watch The Video How-To Below!

Get The Steps
- Prep the hair with Redken Iron Shape 11 to protect strands from heat and to keep the style locked in.
- Start with the bottom layers first, then move to the top layers using 1-inch sections. If working on short hair, know that it’s not always necessary to curl the bottom sections, and curling the top layer only can still create a finger-waved effect.
Pro Tip: If you’re new to finger waves, use a deep side part because it allows for an asymmetrical design. Avoid center parts (especially if you’re new to the technique) because mastering the exactness of perfectly-mirrored sides is difficult for the most seasoned stylists.
- When starting each section, always work from roots to ends and hold the hair out about 45 degrees from the head while keeping the iron horizontal. If you want the waves to lay flat, try aligning the waves with the previous ridges from the previous sections.
Pro Tip: Smaller irons create more defined waves and larger irons create more relaxed waves. In Sean’s quickie video above, he uses a 1¼-inch Hot Tools Pro Marcel Curling Iron because it’s perfect for creating medium-size ridges on lobs or longer length. But, if working with shorter hair, try a 1-inch iron for a tighter-looking wave.
- Always push the iron in one direction while gently opening and closing the clamp and pulling the tail in the opposite direction (a Marcel iron, like the Hot Tools Pro one Sean uses works best for this technique!). Apply a decent amount of pressure when creating the shape of the wave—it’s OK to slightly bend the section back over the clamp to create a more defined ridge.
- When one wave is complete, move to the next row in that section and use the iron in the opposite direction. Be careful not to put too much tension on the wave you just completed above so that it can cool. (You can set them with some no-bend clips to keep ridges aligned.)
Get another Insta-approved, can’t-miss waving technique!
More from
Hot Tools® Professional
-
Beachwaves
4 Styling Hacks For Flat Iron Waves
-
#ONESHOT HAIR AWARDS
The BTC Show 2022: 10 Things We Saw
-
Natural Hair
The Perfect Silk Press: 4 Tips To Get You There
-
Beachwaves
6 Tips For Soft Marcel Waves on Any Length
-
BTC Events
#thebtcshow 2021
-
BTC Events
Connection Center at #thebtcshow 2021
-
Business
A Holiday Gift Guide To Shopping For Hairdressers
-
Business
Can Frequent Disinfecting Ruin Your Tools + Equipment? Read This…
-
Blonde
Foilayaged Blonde + Long-Layered Cut
-
BTC Events
BTC “On Tour” New York City 2020
-
Blowouts
3 Blow-Dry Cheats For Volume
-
Bridal
5 Fast Styling Quickies For Brides
-
Braids
3 Easy Updo Techniques and Styling Tips
-
Hair Color
Rich Red Shag
-
Curls
Watch: Voluminous Hollywood Waves How-To
-
Blowouts
3 Client-Friendly Tips For Faster Blowouts
-
Balayage
Face-Framing Ashy Blonde
-
#thebtcshow 2019
#THEBTCSHOW 2019: Day 1
-
#thebtcshow 2019
CO-LAB CUTTING AT #THEBTCSHOW 2019
-
Blow Dryers
Black Gold™ Charcoal Infused One Step Blowout
-
Beachwaves
Half-Up Bubble Hawk
-
Bobs/Lobs
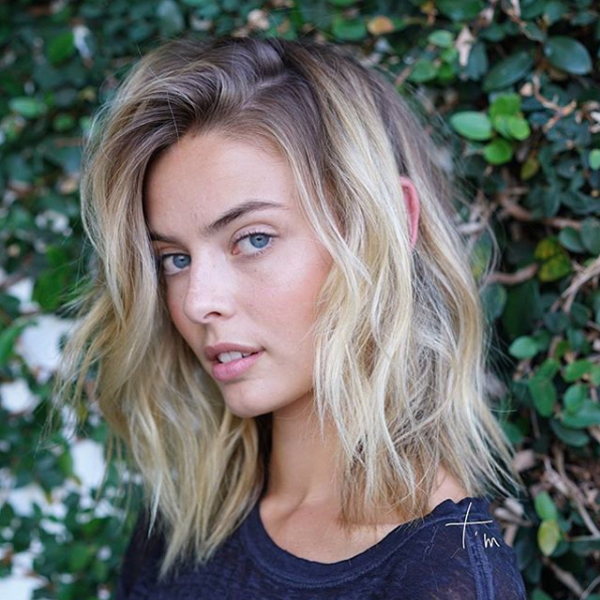
3 Tips For Longer-Lasting Lived-In Waves On Bobs & Lobs
-
Balayage
3 Brazilian Balayage Tips For Bold Blends
-
Balayage
Face-Framing Brunette Balayage

