
Last updated: July 27, 2018
WATCH: Larisa Love’s Go-To Dimension Technique
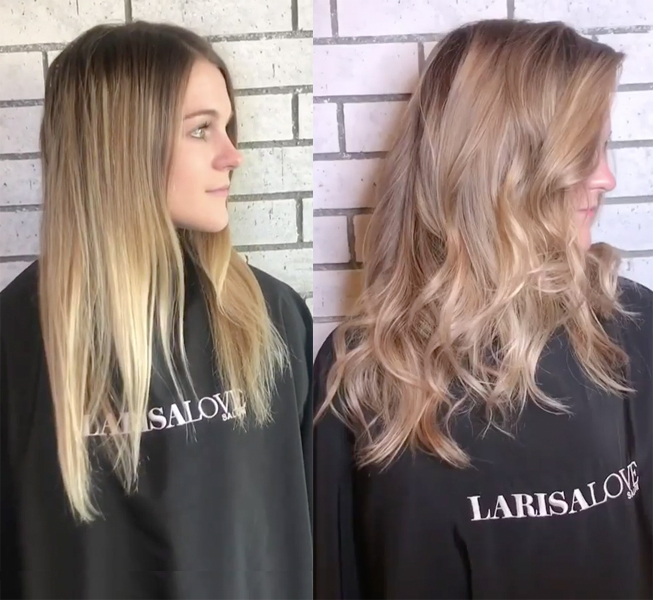

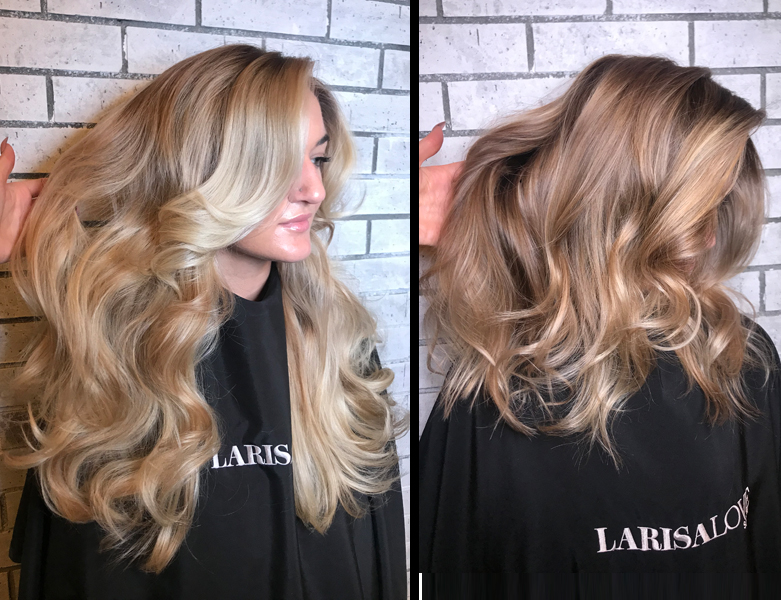
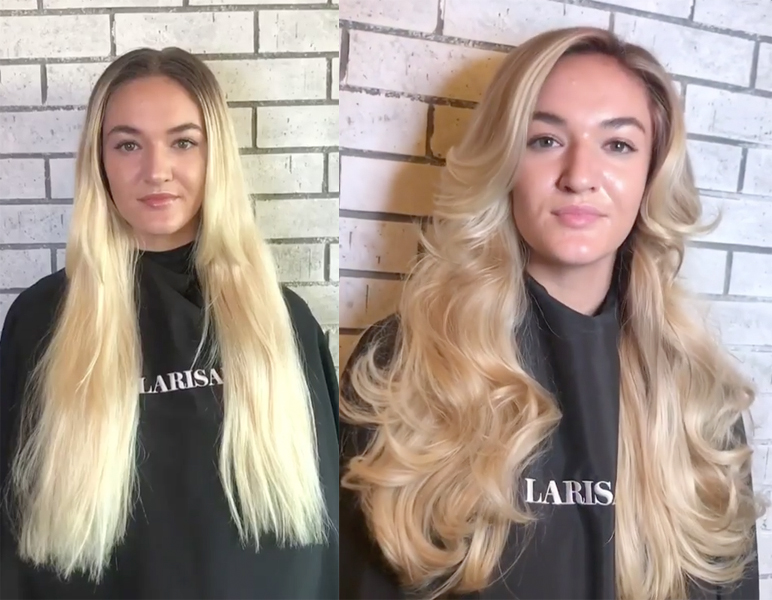
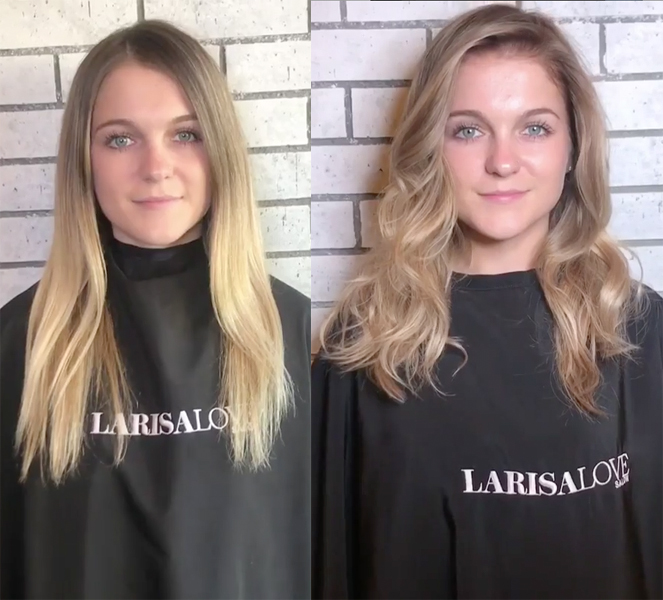
Dimension is IN and clients everywhere are craving a rich, high-shine, multidimensional blend. So we had Larisa Love (@larisadoll) take over our Facebook Live where she demonstrated her go-to dimension technique—the fusion method!
Here’s how it works. The fusion method lets you blend three tones together—a base, a lowlight and a highlight—to create that beautiful, multi-tonal finish. The key to this method is alternating the application of your formulas, and switching up your sectioning depending on the area of the head. Check out some of Larisa’s top tips, then watch the full video below!
Products Used
Larisa’s Top Takeaways
- Larisa used Joico LumiShine, but she says Joico Color Intensity, permanent color or demi-permanent color also work well with this method.
- When creating a rooty look, Larisa recommends applying your base color in a teardrop pattern to ensure a seamless blend. Start by applying your base formula in the front toward the top of the head. Then, as you make your way around the shape of her head, apply that same formula lower in the back.
- To better understand the fusion method, think of it as a pattern—the first weave is your lowlight formula, the second weave is a color melt and your top weave is the highlight formula.
- If you use your hands to blend, always wipe your gloves clean before you apply the next formula! Clean hands plus cleans sections equals a beautiful finished look.
- When applying the fusion method in the back, follow a V-pattern. Once you move to the sides, switch to diagonal back partings. Why? This ensures you avoid creating harsh lines.
More from
Joico
-
Balayage
One Step, Three-Layer Multidimensional Balayage
-
Balayage
Sunset Copper Balayage
-
Monthly Product Launch List
The Best Hair Launches Of March 2024
-
Hair Color
Blonde Life® SilverLight™ Lightening Powder
-
Bond Building
Defy Damage® IN A FLASH™
-
Da’Vine Joy Randolph’s Glamour Waves
-
Celebrity
Zendaya’s Classic Volume Bob
-
Celebrity
The Best Beauty Looks At The 2024 Oscars
-
Blonde
Building The Perfect “Summer Blonde”
-
Gray
Make Gray Hair Look & Feel Younger: 3 Tips Every Stylist Should Try
-
Haircare
KBOND20 Defy Damage Power Masque
-
BTC Events
BTC “On Tour” Nashville Recap: Everything You Missed
-
Monthly Product Launch List
The Best Hair & Beauty Launches Of November 2023
-
Haircare
Inner Joi™ Strengthen Shampoo
-
Conditioners
Inner Joi™ Strengthen Conditioner
-
Haircare
Inner Joi™ Strengthen Masque
-
Haircare
Joico Launches Vegan, Naturally-Derived Haircare Line, Inner Joi™
-
Blonde
How To Create A Natural Shadow Root Through Teasing
-
Blonde
“Fake” A Full Foil In 3 Steps: Here’s How
-
BTC Hair Trend Report
Your Guide To Fall & Winter 2023’s Hair Color Trends
-
Blonde
Honey Blonde Curls: 3 Strategic Placement Tips To Create Brightness
-
Hair Color
Bold Color Trends You Need To Know For 2024
-
BTC Events
AI, Mental Health & Social Media: 7 Business Tips You Can’t Live Without
-
Manufacturer
Joico Announces Jeannetta Walker-Rodgers as Global Technical Director

