
Skin Fades: 3 Things To Definitely Do


3 Need-To-Know Steps For A Clean Skin Fade
Are your male clients requesting clean, clipper cuts but your blending techniques need a bit of a refresh? Victory Barber and Brand™ Founder Matty Conrad (@mattyconrad) shared his technique for creating a seamless skin fade as well as three things you NEED to know. Become a Victory Stockist to get the full tutorial PLUS exclusive deals and education from Victory Barber & Brand™.

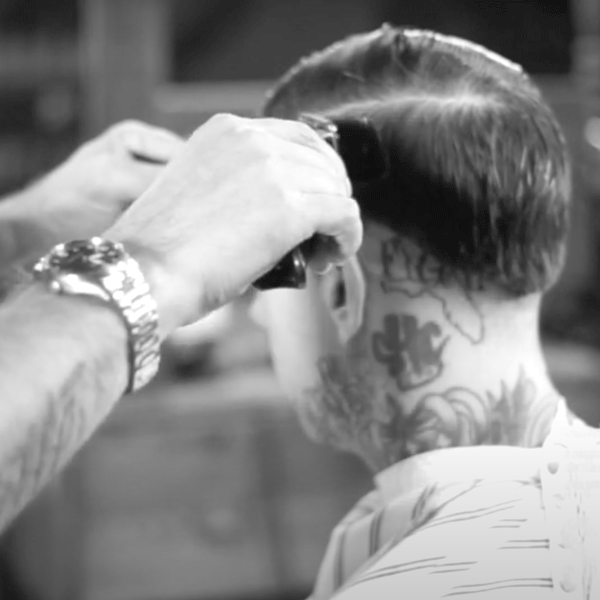
1. Establish Guidelines
First, Matty creates two lines that he uses as guides for the cut’s fade and shape. Check them out below:
- The Skin Line: Use this line as a guide for where the fade will begin. Everything below the skin line will be cut right down to the skin with a trimmer and foil shaver and everything above the line will be blended upwards.

- The Weight Line: This line establishes the length that is left at the top of the back and sides. It also establishes the overall shape of the haircut. The shape can be manipulated using elevation, depending on the desired look. Matty broke it down like this:
-
- Straight out elevation = Natural shape
- Downward elevation = Wider shape
- Upward elevation = Leaner shape
Use a clipper over comb technique to create the weight line around the entire head, mimicking the shape of the skin line.

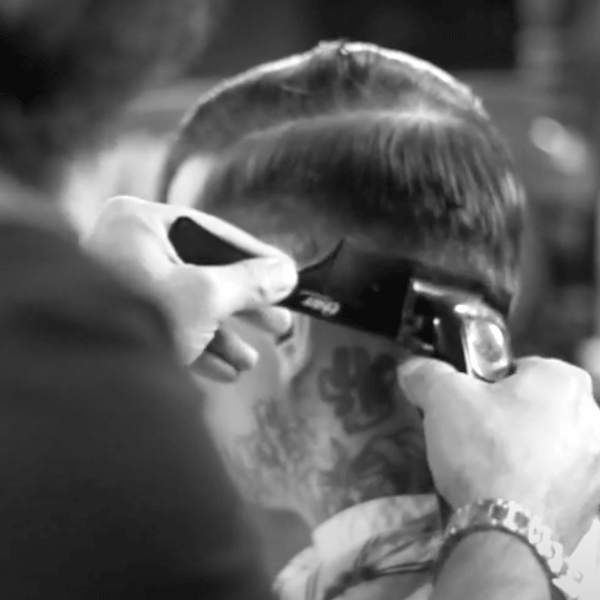
2. Create A Transition Area
To create a more blended, polished fade, Matty will use the clipper comb to clean up the area between the two lines, creating a transition area for his blending technique. Check out the steps below:
- Bring the bottom of the comb tight to the skin line while angling the teeth slightly upward to protect the weight line.
- Use an easy upward rocking motion to create the transition area.
- The transition area closes the gap between the two lines, so make sure the width of the zone gradually increases when working towards the back of the head.
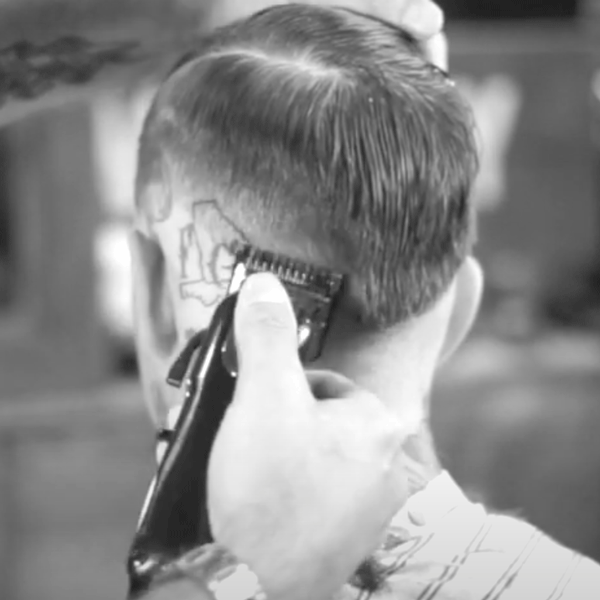
3. Gradually Close The Guard For A Seamless Fade
Working from the top down, Matty starts blending with a one and a half guard setting the clipper all the way open—creating a two and using a rocking motion to blend. Then, he closes the lever on the clipper, reducing the length by one half and working slightly lower. When switching to the smaller guards he first opens the lever for a pass then closes the lever for a pass, working lower and lower until he ends with half a guard closed over the skin line to blend it out.
Matty shared the finished look on his Instagram!
View this post on Instagram

More from
Victory Barber & Brand™
-
BTC Events
BTC “On Tour” Nashville Recap: Everything You Missed
-
BTC Events
AI, Mental Health & Social Media: 7 Business Tips You Can’t Live Without
-
Barbering
How To Style The Biggest Men’s Summer Trends
-
Barbering
2023’s Top 9 Hair Trends For Men
-
This Year’s BIGGEST Products: 2022’s Most Talked About
-
Crash Course: 5 Tips You Need For Fall’s Hair Trends
-
Product Launches
Our Editors Picked THESE Must-Try Fall Hair Products
-
#ONESHOT HAIR AWARDS
The BTC Show 2022: 10 Things We Saw
-
The BTC Show
#THEBTCSHOW 2022
-
#ONESHOT HAIR AWARDS
Breaking News: 2022 #ONESHOT Hair Awards Winners
-
Barbering
5 Genius Blonding, Color + Cutting Cheats To Try Now
-
Barbering
The “Wet Mop” Is TikTok’s Biggest Men’s Haircut Trend
-
Barbering
The Hottest Men’s Hair Trends For Winter 2021
-
BTC Events
#thebtcshow 2021
-
BTC Events
Victory Barber & Brand At #THEBTCSHOW 2021
-
BTC Events
Connection Center at #thebtcshow 2021
-
Barbering
8 Beard Mistakes You (And Your Clients) Are Making
-
Men's
Dry Grooming Cream
-
Barbering
Grooming Glossary: Simple Terms For Teaching Male Clients To Style At-Home
-
Best of 2020
10 Salon Business Tips To Read Before 2021
-
Business
A Holiday Gift Guide To Shopping For Hairdressers
-
Men's
4 Blow Drying Tips To Teach Male Clients
-
Men's
Men’s Grooming: 4 Steps For Giving Clients A Complete Transformation
-
Barbering
Men’s Cutting: 3 Techniques For Better Blends

