
Quick Blonding Technique: Teased Balayage

Quick Video How-To: Teased Balayage Technique With Foils
Summer—or what we like to refer to as Blonding Season—is in full swing and we know client after client is asking to go lighter and brighter. So how do you get them to their desired shade of blonde hair? Below, we’re sharing Ryan Weeden’s (@ryan.weeden) go-to blonding technique which features a mix of teased balayage and foils. Watch the quick video below to see how it’s done, then keep scrolling for the how-to steps AND to peep the finished look.

Products Used
Watch The Video How-To Below
View this post on Instagram
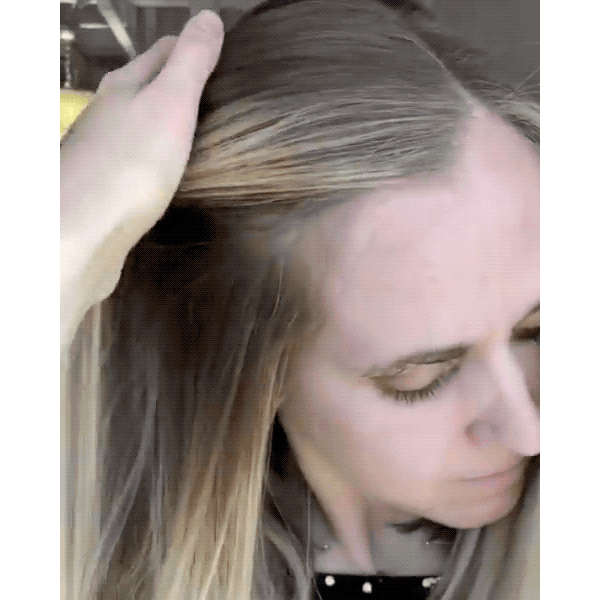
How-To:
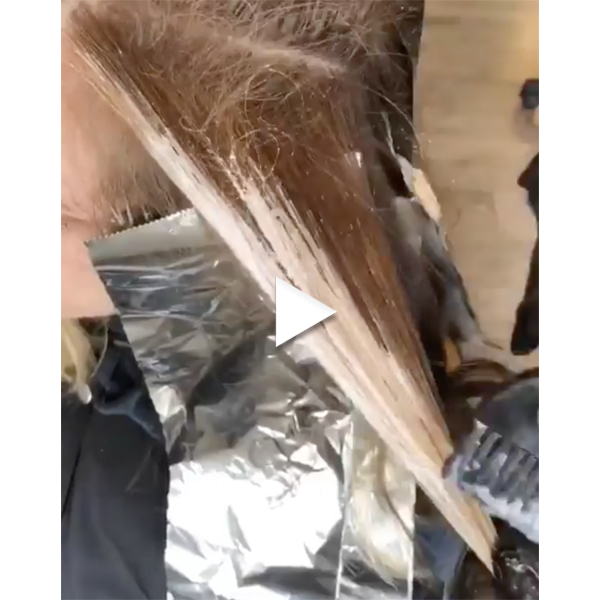
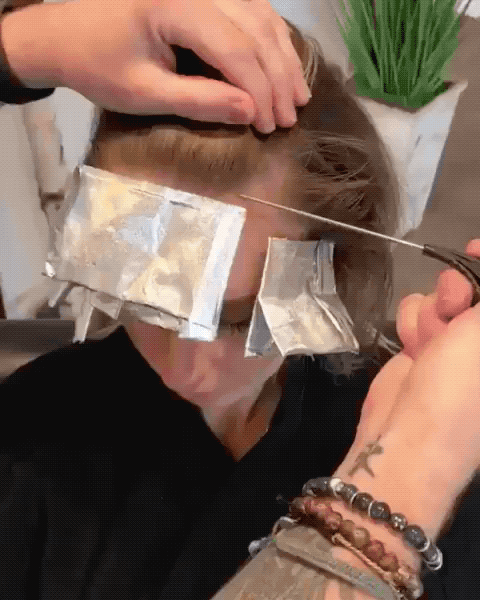
1. Take a diagonal back section and lightly backcomb it, leaving the hairline out.
2. Paint the non-backcombed hair with Kadus Professional Blonding Powder + Blondes Unlimited + 30-volume developer, building saturation as needed.
3. Then, paint up with the brush in short, wispy movements to blend the line of demarcation.
4. Work toward the ends next, tapering back.
5. Elevate the section and paint the surface underneath, mimicking the pattern on top.
6. Let process, tone (if needed) with Pulp Riot Barcelona, blow-dry and then style as desired.
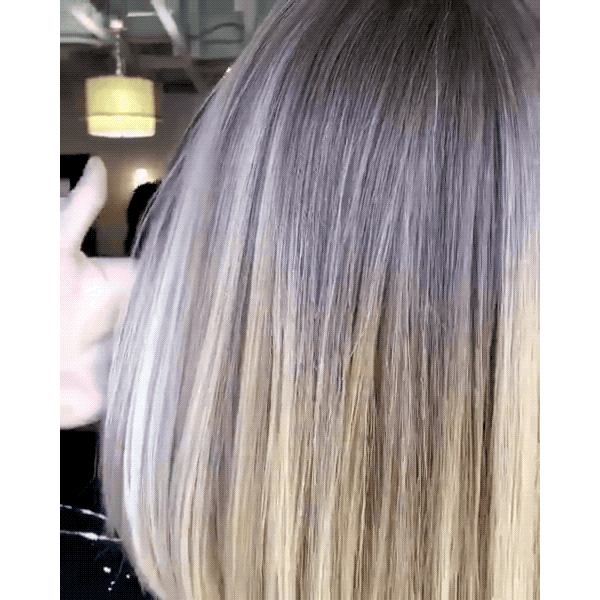
Check out the front and back of the finished result below!
How To Refresh Balayage In 10 Minutes—CLICK HERE!
More from
Ryan Weeden
-
Manufacturer
Wella Announces Virtual Fundraiser To Support Hairdressers
-
Balayage
Balayage In Less Time: Maximum Results, Minimal Work
-
Coronavirus
10 Productive Ways To Spend Your Time In Quarantine
-
BTC University
3 Solutions For Common Backcombing Problems
-
#thebtcshow 2019
Wella Professionals at #THEBTCSHOW 2019
-
#thebtcshow 2019
#THEBTCSHOW 2019: Day 1
-
Business
Start Charging What You’re Worth With These 5 Tips
-
Balayage
WATCH: Gray Coverage + Blonde Balayage
-
Balayage
WATCH: How To Refresh Balayage In 10 Minutes
-
Beachwaves
QUICKIE: Glam Beachy Waves
-
#thebtcshow Austin 2017
The Behind The Chair Show 2017: Day 3

