
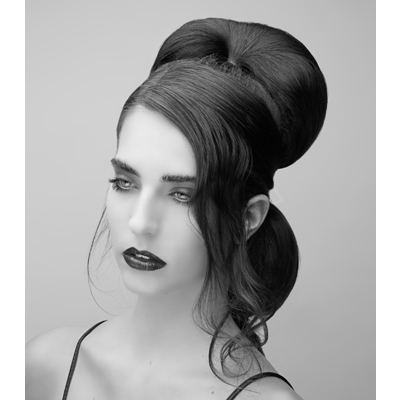
Vintage Punk Pony

Products Used
HOW-TO STEPS 
First, set the hair with hot rollers using KMS California FREESHAPE 2-in-1 Styling + Finishing Spray to create a softer curl.
Next, secure two ponytails, one at the crown and one at the nape.
Use padding made from Yaki Hair and a hair net (molded into a crescent shape), pin under each of the ponytails. Then, backcomb the ponytail sections to create volume and start smoothing with the tip of a styling brush.
Next, form the smoothed hair onto the padding and secure.
Tuck the ends of pony underneath the crown, then tuck the ends of second pony into the nape.
Apply KMS California HAIRPLAY Gel Wax onto the front veil section for a different polished texture.
Finally, drape the veil section in front, around the back center and secure. Then mold the front pieces for a lived-in look.

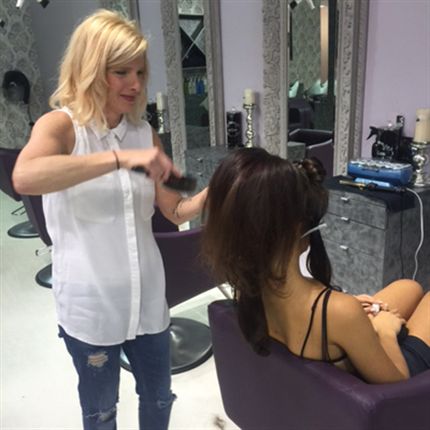
To change the look and add texture to the above style, pull some of the hair in the back and massage the ends.
YOU MIGHT LIKE THIS
-
Celebrity
Angela Bassett’s Disco Era Curls
-
Celebrity
Modern Rock Pony
-
Styling
Julianne Hough’s Twisted Pony is #HolidayHairGoals
-
Celebrity
Naomi Watts’ Parisian-Chic Pony
-
Celebrity
Kate Winslet’s Vintage-Inspired, Faux Bob
TRENDING NOW!
-
BTC Hair Trend Report
The Biggest Haircut Trends of 2024
-
Blonde
Conditioner Before Toner: Common Hair Myth Debunked
-
Monthly Product Launch List
11 New Game-Changing Hair Launches To Add To Your Arsenal
-
Copper
What Is The "Cowboy Copper" Hair Trend? Here's What It Really Means...
-
Frizz
Straighten & Smooth 2A, Fine-Medium Density Hair
-
Copper
Muted Bronze
-
Haircuts
SHAG 101: The Dos And Don'ts
-
BTC Hair Trend Report
WWYD: How Hairstylists Are Navigating Inflation

