Hair Painting Sectioning Tips For The Ultimate Blend
Create The Perfect Blend With These Sectioning Secrets
If you’re anything like us, we are mesmerized by Wesley Palmer’s (@wesdoeshair) Insta videos of him creating multi-dimensional blondes using his hair painting technique. So, what’s the first step to achieving Wes’s seamless blending and dimension? Sectioning! We had Wes stop by The BTC House to break down his hair painting techniques and we’re sharing his sectioning secrets below. Scroll down for all the deets and click here to become a BTC-U Member and receive unlimited access to Wes’s class on BTC University!
Balayage Sections Vs. Hair Painting Sections
The difference between balayage sections and hair painting sections is size.
- Balayage: For a sun-kissed, natural highlight using a balayage technique, take smaller sections—about a half inch—in triangular shapes around the head.
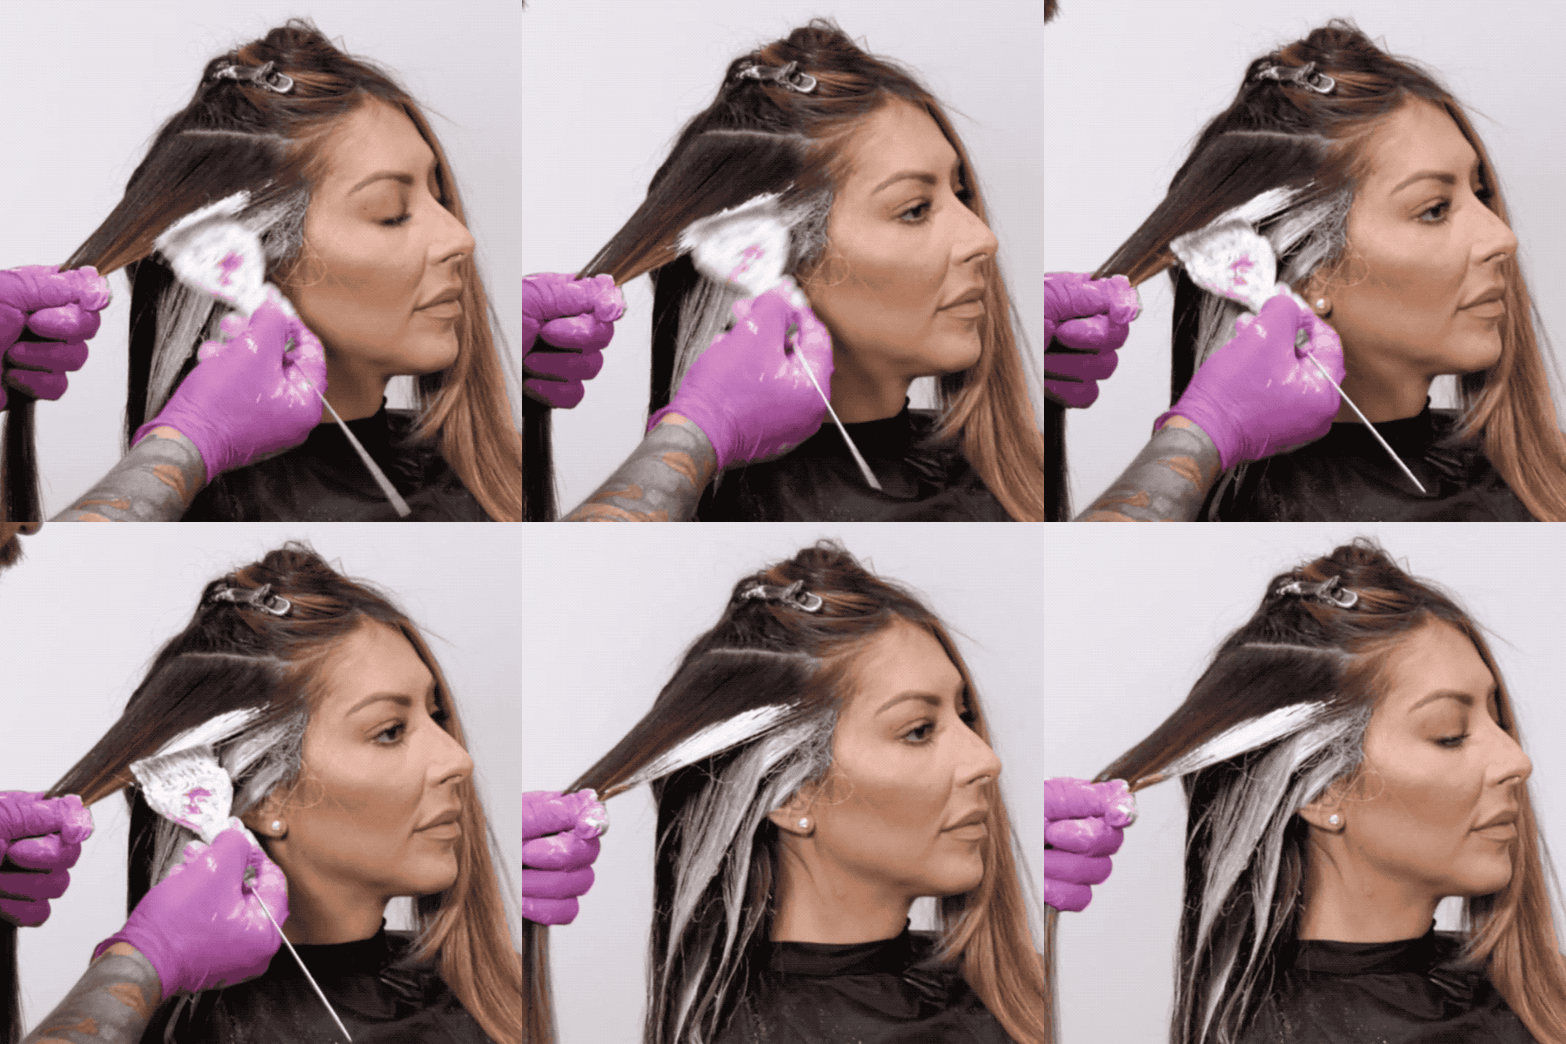
- Hair painting: Take larger sections (about an inch in thickness), and Wes says they don’t necessarily have to be in a triangle shape. This allows more surface area for painting and is easier to create depth and contrast.

If Blending At The Crown Is An Issue, Rethink The Starting Point
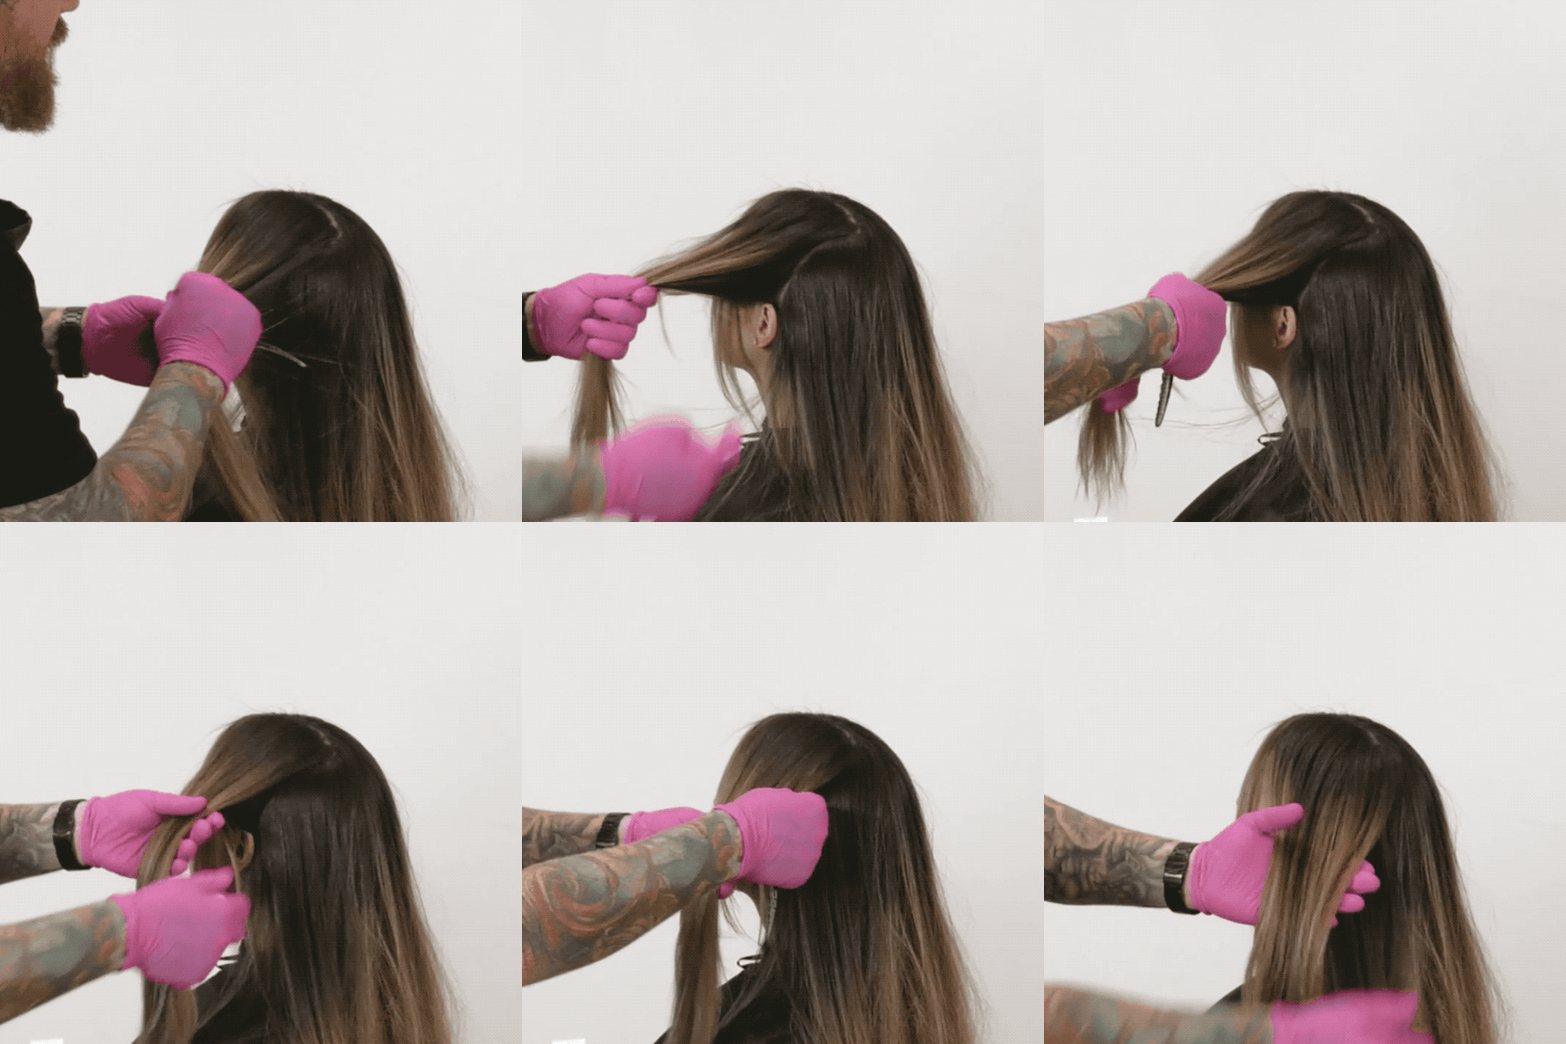
Having trouble blending the crown with the front sections? Make the back section one to two inches lower than the apex and create a diagonal parting to the front.
- Less hair at the crown = easier painting and seamless blends
- Perfect for partial highlights! This sectioning technique will save time and product—YES PLEASE!
Pro Tip: Wes emphasizes the importance of keeping both sections and partings symmetrical and in the same place. This will keep the hair painting process neat and discourage product from accidently bleeding or being smudged in an area you don’t want it to be.

Use An Alternating Brick-Lay Pattern
Using the same “V” shaped sectioning can result in streaky color. Wes suggests an alternating brick-lay pattern instead:
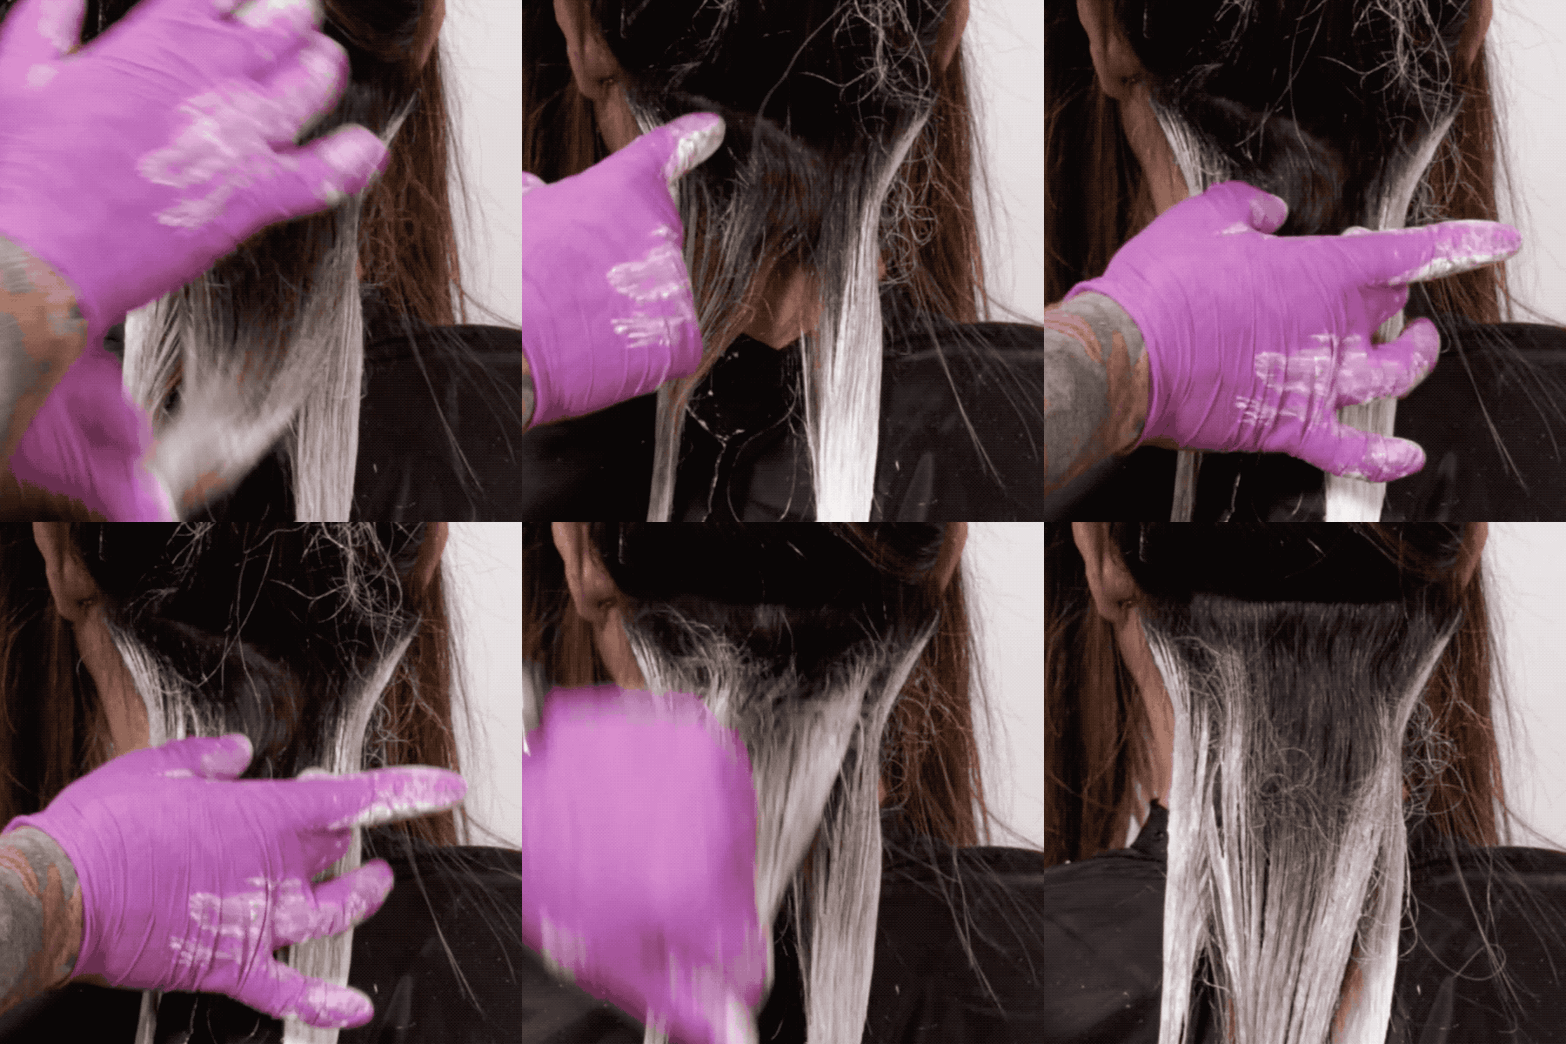
- Start at the occipital bone and create a diagonal-slant section that ends at the center of the nape.
- Paint the section in a traditional V-shape and lay the section down flat.
- For the next section, take a straight, horizontal slice, about one inch thick. When painting, make sure the center point of the painted “V” lays in the center of the previous “V” shaped section.

When To Weave
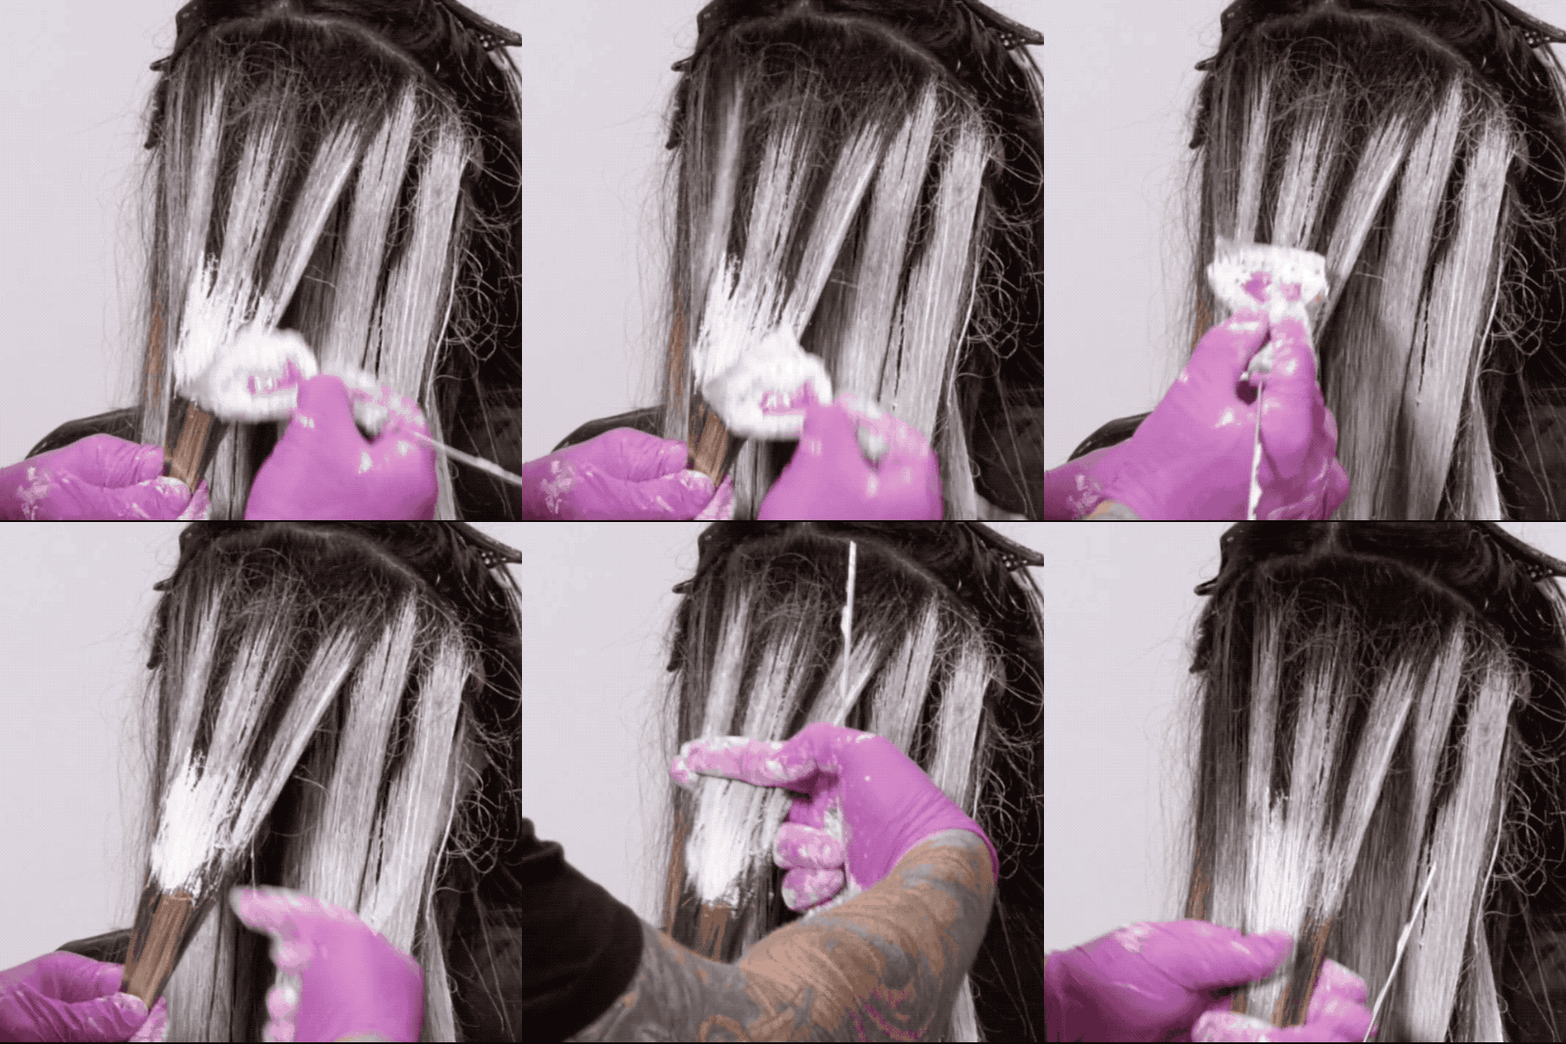
If hair painting is a new technique or if the last section that is very large, Wes suggests weaving to make painting easier. Paint in a sweeping motion all the way across the weave. Then, bring the entire section back together and continue to paint the hair normally. This will make painting points easier and blends the sections as one.
Slide for the finished look!

Check Out the Process Below!
More from
Wesley Palmer
-
Business
6 Things You Didn’t Know About The LG CHI Color Master Factory
-
Foilayage
The 4-Foil Money Piece: Do THIS To Save Time!
-
Color Melt
How To Create A Rich Copper Root Melt
-
BTC Quickies
5 Color Tricks We Stole From Instagram
-
Blonde
4 Color Placement Tips To Work Smarter, Not Harder
-
BTC University
How To Create A Viral Video
-
Haircuts
Video How-To: Pixie Transformation
-
Business
10 Tips For Growing Your Instagram
-
BTC "On Tour"
BTC Hosts First Ever International Show: “On Tour” London
-
BTC "On Tour"
“On Tour” London Cocktail Party
-
#thebtcshow 2019
#THEBTCSHOW 2019: DAY 3
-
THE BTC SHOW 2019
BTC BALAYAGE & BLONDES CO-LAB AT #THEBTCSHOW 2019
-
#thebtcshow 2019
#THEBTCSHOW 2019: Day 1
-
Balayage
Balayage: 3 Tips For Diffused Blends
-
Bobs
VIDEO HOW-TO: DRY CUT TEXTURED BOB
-
BTC Events
BTC “On Tour” Dallas Show—Here’s Everything That Happened!
-
Bobs
6 Satisfying Bob Haircut Videos From Instagram
-
Hair Color
Red Haircolor: 3 Easy Solutions To Common Issues
-
Hair Color
VIDEO HOW-TO: Copper Melt + Disconnected Pixie
-
#THEBTCSHOW 2018
3 Techniques To Achieve Healthy Color & Custom Texture
-
Balayage
THE BTC SHOW 2018: Day 1
-
Balayage
Watch: Toning Balayage & Root Melt Quickie


