
Hair Painting: How It’s Done

Advertisement
Hair Painting: How It’s Done
HOW-TO STEPS 
-
1
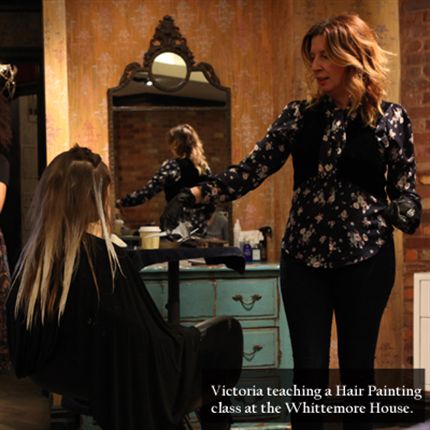
Start with Why
“As colorists, we’ve all learned that the consultation is an important part of the process, but do we truly take the time to educate a client?” says Larry. In addition to the usual elements of assessing a client’s individual needs, i.e. his or her face shape, current color, eye color, lifestyle and any other concerns that might come about during the consultation, it’s also the job of the colorist to explain the process of hair painting and why they’re taking an important and exciting step by transitioning from foils to painting. “We tell our clients: Hair painting gives a more natural, sun kissed effect,” says Victoria. “It’s a blended look with soft, seamless contrast. No two results will end up the same” -
 2
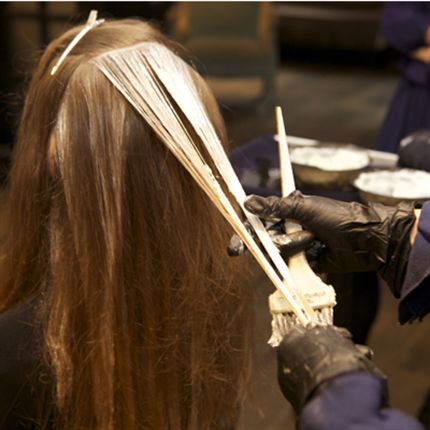
2Control Your Brush
One of the most important aspects of the Hair Painting method is “brush control,” says Victoria. Traditional Balayage uses a paddle, which is far more difficult to control and manipulate—the results tend to be messier, more severe and less natural. “With Hair Painting, we use a brush, which helps to shape and mold the color for natural, seamless results,” says Victoria.
Pro tip: Make sure there is saturation of product onto the hair going from lighter to stronger by the time it gets to the ends—this creates a softer ombré effect. -
 3
3Be Open Minded
“Our philosophy at Whittemore House is that coloring hair with foils creates a very cookie-cutter, outdated affect,” reveals Larry. “The entire process of using foils, from start to finish, leaves little to no room for creativity and customization.” In order to get colorists out of this robotic way of thinking, the first word Victoria and Larry teach is “intention.” Let go what you’ve been taught about hair in the past, and be open to thinking about hair in an entirely different way. -
 4
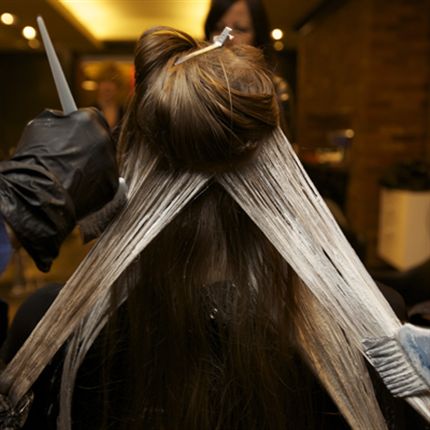
4Mix It Up
A good tip when painting blondes close to the root is to mix lightener thicker to avoid bleeding through sections. “Take wider and thicker sections to give an all-over lighter, more sun kissed look,” advises Victoria. “Painting a thinner section will make the color more gradated and natural while painting a thicker section will make the color more bold and contrasted.” -
 5
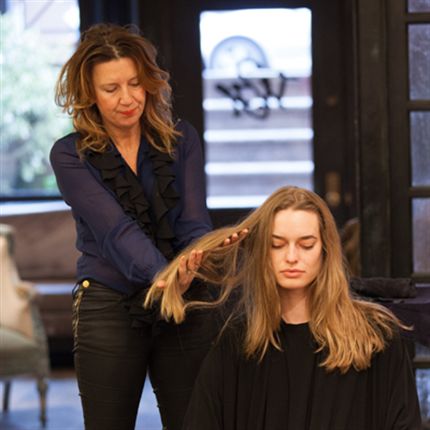
5Take It From the Top
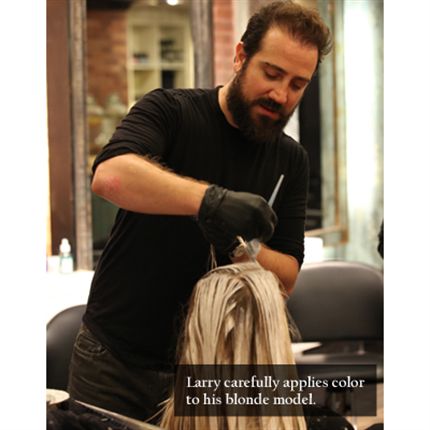
According to Larry, it’s very important to guide the brush from top (or wherever you want to start—be it at the root, in the middle of the hair or toward the end) to tips and never the reverse. “Backcombing the hair not only creates damage, it’s time consuming and has no artistic value, which can often lead to a mess,” he says. Approaching the hair with a thoughtful, careful technique where you can see the color being applied will produce far better results. -
 6
6
For more information on the Whittemore House Hair Painting Program, to sign up for the next class on October 26 and 27, or to become a member of their team, visit www.whittemorehousesalon.com.
YOU MIGHT LIKE THIS
-
Balayage
Bold Gold Hair Painting
-
Balayage

How-To: Open Air Balayage
-
Balayage
Balayage + Beachy Waves How-To
-
Balayage
How-To: Sultry Balayage
-
Hair Color
Steal This Teal
TRENDING NOW!
-
BTC Hair Trend Report
The Biggest Haircut Trends of 2024
-
Monthly Product Launch List
11 New Game-Changing Hair Launches To Add To Your Arsenal
-
Copper
What Is The "Cowboy Copper" Hair Trend? Here's What It Really Means...
-
Frizz
Straighten & Smooth 2A, Fine-Medium Density Hair
-
Blonde
Conditioner Before Toner: Common Hair Myth Debunked
-
Copper
Muted Bronze
-
BTC Hair Trend Report
WWYD: How Hairstylists Are Navigating Inflation
-
Haircuts
SHAG 101: The Dos And Don'ts

