Guy Tang’s Top Balayage Tips

For the first time at COLOR, Cut & Style, BTC hosted Saturday Look & Learn Classes at this year’s show in New Orleans. None other than Guy Tang kicked off our classes with a crowd of more than 600 #hairbesties. Ombré and Balayage were the topics, and he shared signature techniques, exclusive color formulas and that tantalizing Tang charm you can only truly experience live.
From learning how to turn stripey, “90s Christina Aguilera” highlights into sun-kissed, Victoria’s Secret hair, to techniques such as his classic “Diamonds in the Sky” application method and Sponge Lights, Guy covered it all. And since he’s one of the most sought-after colorists in the biz, we made sure to take good notes! Here are our top nine tips from the class. And psst… something super special? Guy will be back at COLOR, Cut & Style again this year in Ft. Lauderdale with his #hairbestie Rebecca Taylor! Um… YES, PLEASE.
1. Measuring lightener is key. “I know some people like to eyeball,” Guy says. “But measuring is important because if you need to go back and remix more product, you want to be able to repeat the same thing every time.” When measuring, Guy mixes a 1:2 ratio of lightener to developer.
2. Guy’s top two tips for creating the most natural-looking balayage? Using clay lightener, which releases color when it dries, creating even more dimension; and make sure to overdirect when applying the lightener.
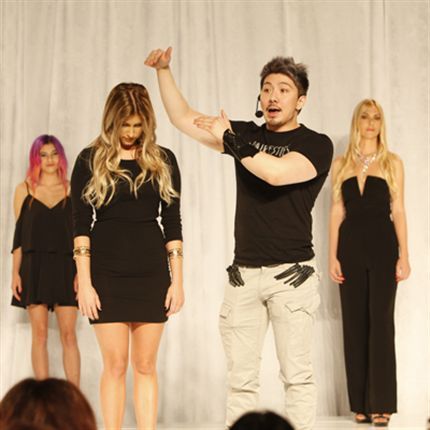
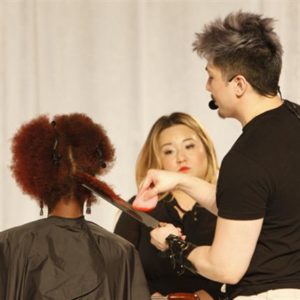
Guy Tang takes the stage at his look and learn class.
3. If a client has baby hairs at her hairline, make sure to avoid applying lightener in this area. Lighting these pieces will draw attention to them. “It’s like, ‘Oh, is that breakage?’” says Guy.
4. When applying lightener, always start in the middle of your section and work your way up. Also, start by using a horizontal brush stroke, then go in vertical and feather the color in finer slices.
5. When coloring textured hair, always find out if the hair has been relaxed. If so, it’s necessary to use 20-volume developer instead of 40-volume to avoid damaging the hair.
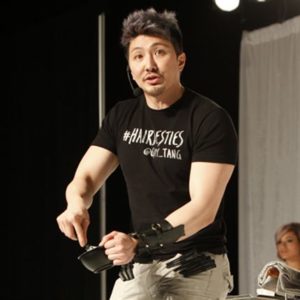
Overdirect to create movement and interest!
6. When deciding on where to place your color, remember the power of dark versus light. “Light expands and darkness disappears,” reminds Guy. “A sweeping of light can draw attention, making the hair look longer and fuller.”
7. It’s important not to set brand boundaries for yourself. In order to keep it fresh, you need the most innovative tools. To continue to be inspired, you need to use the color that most inspires you—whatever new or old favorite that may be!
See more pics and the finished looks HERE!
8. When applying lightener, go in first and apply pressure, then go in on an angle. “Put the point of the pallet in. Don’t be afraid to use your hands,” says Guy. “There’s no right or wrong way—it’s art.”
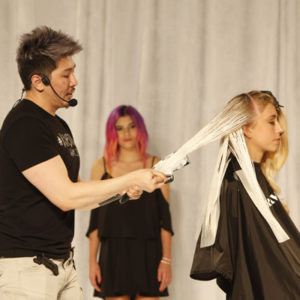
Guy uses the Sponge Lights technique!
9. Know the kind of hair you’re working with, and if you don’t know, learn! You’re not just coloring for straight hair anymore. “We’re really seeing texture come back. Ten years ago, all we did was flat iron the hair. Thank God we’re seeing curls come back,” says Guy.
10. Sunset Vivids Color Melt Formula
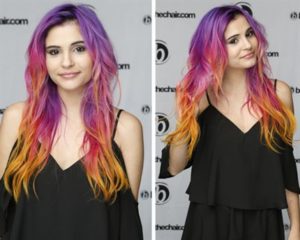
Pre-Treatment: 1 oz. Olaplex No. 1 + 3 oz. water for 10 minutes.
Base Color: PRAVANA VIVIDS ChromaSilk Express Tones Ash + Zero Lift Developer
Formula 2: PRAVANA VIVIDS ChromaSilk NEONS Pink + NEONS Blue + VIVIDS Magenta + VIVIDS Violet
Formula 3: PRAVANA VIVIDS ChromaSilk NEONS Pink + NEONS Magenta
Formula 4: PRAVANA VIVIDS ChromaSilk NEONS Yellow

Guy ends the class by taking a selfie with all his #hairbesties.