
Create Loose Waves On A Lob With These 5 Tips

Create Loose Waves On A Lob With These 5 Tips
What’s the best way to get that double-tap? Set off a trending lob and gorgeous haircolor with the waves clients covet, then snap some pics! Learn how to get these Insta-approved effortless waves from BTC Team Member Mika Rogerson (@mikaatbhc)—click here to purchase the 15-minute how-to video from BTC University!
Click here to purchase Mika’s video!

1. Leave The Ends Out
For clients with a short lob/bob cut, the hair is shortest underneath at the nape. Mika uses a 1-inch BaByliss Pro curling iron at the root to smooth the hair down to the midshaft. When she gets almost the bottom of the section, she turns the hair up toward the root, making sure to leave out the ends. See how it’s done in the gif below:
2. Don’t Curl Every Section
You don’t want everything to be perfect when trying to achieve effortless waves. In fact, sometimes less can be more. Leave out small sections of hair that are untouched from the curling iron for more of an undone look. This will create and enhance movement within the lob haircut as well.
3. Customize According To Hair Length
At the top sections, wrap the hair around the curling iron twice, still leaving the ends out. Depending on the length of your client’s hair, you may need to wrap the hair around the curling iron more than a few times. Mika says the “wrap-arounds” will be different for each client. For lobs, you should get about one to one-and-a-half wrap-arounds.
4. Curl At The Root For Body
Mika likes to apply heat to the root of the hair, especially on the top sections, which allows for more body. Start curling the hair at the root and smoothing out any kinks or frizz, then feed the hair into the curling iron from there. This also will help hold the curl better.
5. Finish With A Straightener
To help make your styling effortless, undone and more relaxed, Mika uses a flat iron after she’s finished with the curling iron to retouch and smooth out pieces that are too curly or pieces that weren’t touched by the curling iron. You can do this to as few or as many pieces as you want—it’s completely customizable to you and your client’s liking. Take random pieces here and there and smooth out the ends for a relaxed, tousled look. See how she does it in the gif below:
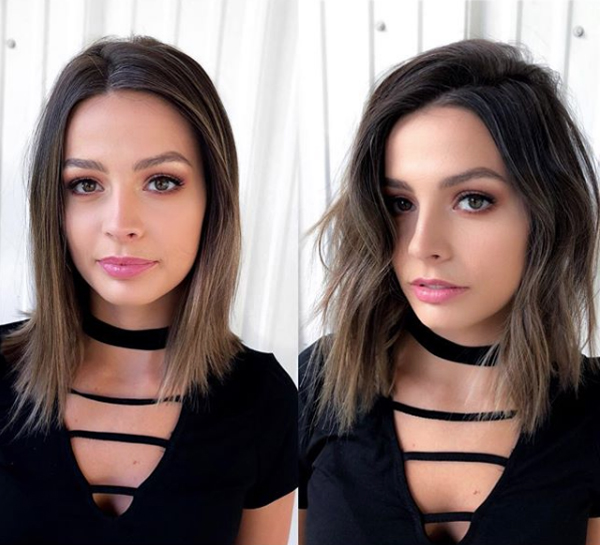
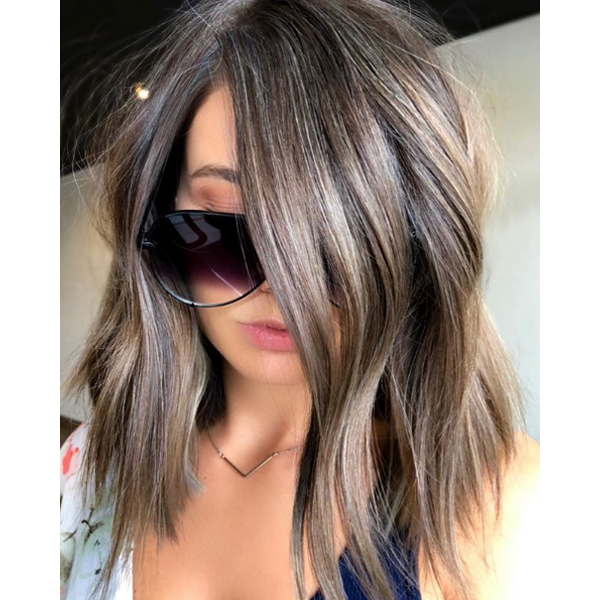
Check out the before and after!
Learn the entire step-by-step process from Mika! Click here to purchase the how-to!
Wanna learn more from Mika? Check out her cool-toned brunette formula!
More from
Mika Rogerson
-
Balayage
The Biggest Hair Color Trends Of Winter 2021
-
Blue
Pantone’s Color Of 2020 Is Classic Blue—Here Are 5 Formulas!
-
Balayage
11 Chocolate & Caramel Formulas That’ll Satisfy Your Sweet Tooth 🍫
-
Beachwaves
7 Articles That’ll Take Your Styling Game To The Next Level In 2019
-
Beachwaves
Your Complete Guide To Styling Bobs & Lobs
-
Beachwaves
The Top 10 Cool-Girl Wave Tips We Posted In 2018
-
Balayage
Balayage: 4 Base Color Formulas For Seamless Blends
-
Hair Color
3 Ways To Use A Hair Serum You Never Thought Of
-
Color Protecting
Clients With Breakage? Here Are 3 Easy Solutions!
-
Balayage
Deep Brunette + Bold Caramel Money Piece
-
Brunette
Caramel Money Piece On A Brunette Base
-
Balayage
Dimensional Brunette Balayage
-
Balayage
Dimensional Brunette Balayage
-
Balayage
Dramatic Dimension
-
Balayage
Dramatic Dimension

