Crafted Fringe: 5 Tips To Perfect Your Technique
5 Tips For Crafted Fringe
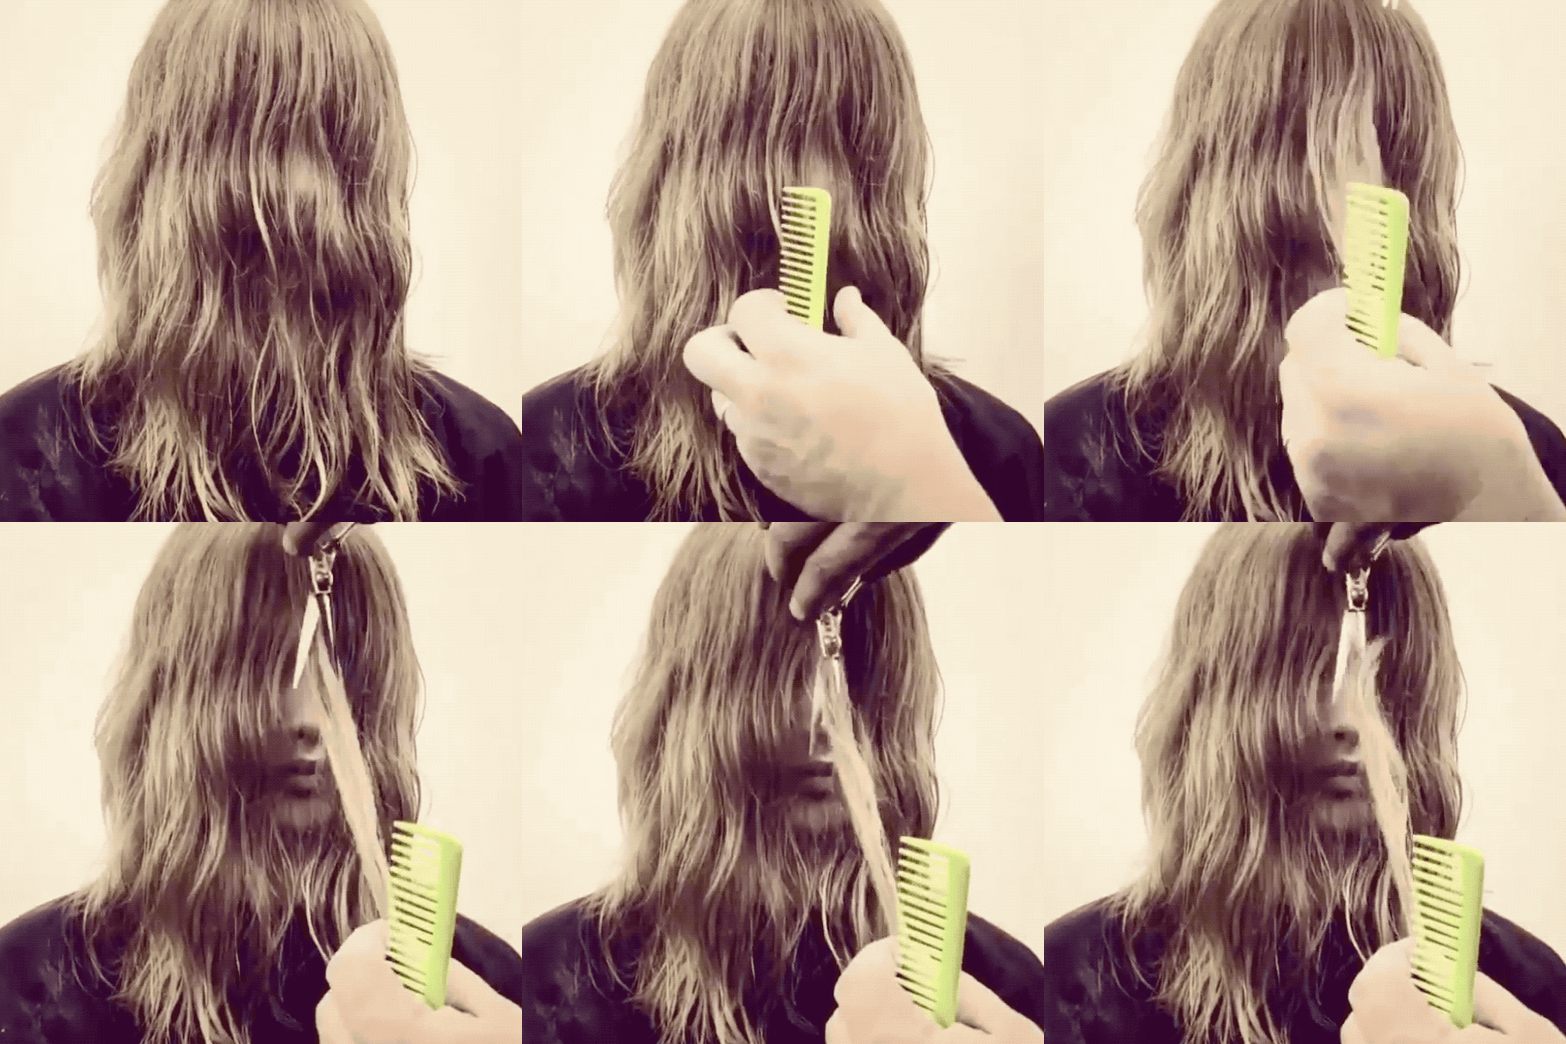
The best way to keep a client for life? Creating custom, handcrafted hair for her that she absolutely cannot get from anyone else. That’s why we are obsessing over the crafted fringe trend, especially these quickie videos by Schwarzkopf Professional® Global Ambassador Tyler Johnston (@tylerjohnstonhair), a longtime session artist whose clients include the Beckhams (that’s Victoria and David, of course) and Keira Knightley. Check out his crazy satisfying crafted fringe videos below, plus get his five top tips for honing your crafted fringe skills.
View this post on Instagram
Products Used
What is a crafted fringe?
These are not wispy, swoopy bangs—they are deliberately carved into the hair in organic shapes. “Crafting is a form of carving…you break into the edge of the hair and you craft a shape,” Tyler says. “You gradually work into the hair and find your outline. Crafting is a very organic, handmade technique.”
For Tyler, now is the time to learn this technique. “Haircuts are coming back and crafted fringes are big again,” he says. “For a while, there has been a lot of long hair on trend, either beach waves, Hollywood hair or the undone look, but I really think we are seeing a lot more girls cutting their hair midlength, around the shoulder, or boyish, more androgynous cuts—and all of these look bang-on with a cool, crafted fringe.”
View this post on Instagram
Tyler’s Top 5 Crafted Fringe Tips
1. Study her features.
Start where you always start—by studying her face and features in the consultation. “Face shape and personality are so important when it comes to a haircut—and when it comes to cutting the fringe, face shape is everything,” Tyler says. “Just because fringes are on trend that season doesn’t mean we should give everyone a fringe. It’s important that we look to the individual and look at suitability…it should enhance someone’s features.”
2. Analyze the hair’s thickness.
“Texture and thickness of hair changes my approach,” Tyler says. “If the hair is very thick, then you should take sections and cut gradually. A lot of the time, I just allow the hair to fall naturally, then I work into the hair and start to break into it.”
View this post on Instagram
3. Decide on dry or wet cutting.
“If my haircut has a very graphic feel to it, with strong outlines, I would tend to cut the fringe dry,” Tyler says. He starts by applying Schwarzkopf Professional OSiS+® SESSION LABEL® Miracle 15 into damp hair, then doing a flat wrap blow dry to retain the hair’s natural body without too much volume. On the other hand, with textured hair, he’ll cut on damp—“never too wet”—hair to examine the natural texture.
4. Choose your tool.
Tyler reaches for scissors most of the time, cutting with the point of his blades. But as a session stylist, he frequently works with wigs—and in these cases, he’ll use a razor. “It gives more of a natural feel,” he shares. “Wigs tend to be a little thicker, and it’s easier to work [a razor] into the wig and gradually reduce the weight.”
5. Finish with texture.
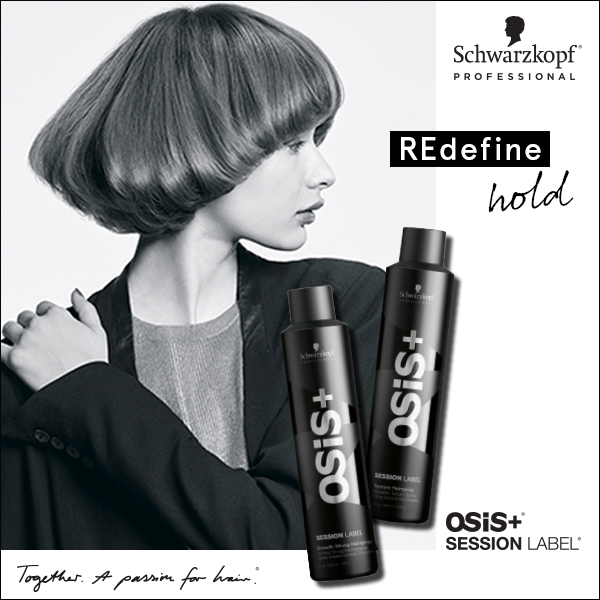
Once the fringe is perfectly crafted, finish with Schwarzkopf Professional® OSiS+® SESSION LABEL® Texture Hairspray, which offers buildable structure and movement.
More from
Schwarzkopf Professional®
-
Shampoos
Purple vs. Blue Shampoo: It’s More Than Color Theory, Here’s Why
-
Copper
Muted Bronze
-
Monthly Product Launch List
The Best Hair Launches Of March 2024
-
Hair Color
IGORA ZERO AMM Permanent Color
-
Celebrity
The Best Beauty Looks At The 2024 Oscars
-
Blonde
Sydney Sweeney’s Dark Suede Blonde
-
Celebrity
Schwarzkopf Professional® Launches Campaign Spearheaded By Chris Appleton & Sofia Vergara
-
Styling
OSiS® Upload
-
Celebrity
Sofia Vergara’s Red Carpet Glam Waves
-
BTC Hair Trend Report
Schwarzkopf Professional® Announces Chris Appleton As New Global Color Ambassador
-
Blonde
Virgin To Dimensional Blonde Blend
-
Monthly Product Launch List
11 New Game-Changing Hair Launches To Add To Your Arsenal
-
Blonde
The Biggest Hair Color Trends of 2024
-
BTC Hair Trend Report
The Biggest Haircut Trends of 2024
-
Brunette
Rich Beige Brunette
-
Celebrity
Paris Hilton’s Classic Blonde
-
Blonde
Dove Cameron’s Brunette-To-Blonde Color Correction
-
Celebrity
Sofia Vergara’s ’80s-Inspired Red Carpet Waves
-
Industry News
Sofia Vergara is Schwarzkopf Professional®’s New Global Brand Ambassador
-
Styling
OSiS+® Grip Mousse
-
Hairsprays
OSiS+® Freeze
-
Styling
OSiS+® Dust It
-
Brunette
Caramel Chocolate Brunette With Gray Coverage
-
Awards Shows
The Best Celebrity Hair Colors & Formulas From The 2024 Golden Globes


