
4 Tips To Build A Full Bob With Extensions

How To Avoid The Awkward Grow-Out Phase With Extensions
Want to know how to skip the awkward mullet phase when growing out a pixie cut? Help your client transition with ease using this genius idea—building a bob with extensions! To lay the foundation, we tapped Hairtalk® Senior Master Educator Alicia Iannone (@liciebaby) to share her go-to tips for creating this chic style. Scroll down to learn it all!
1. Place & Shape = A Natural Finish
To make sure her bobs are as natural looking as possible, Alicia implements her “build a bob” technique: “Apply the first two extensions and then start to blend and cut the desired shape of the bob. DON’T put in a bunch and try to cut the shape after, the finished look won’t have the same natural flow.”
Pro Tip: No matter their needs, Alicia believes that every client can benefit from extensions. “Think of them as a tool to enhance what your client is lacking, not just length and volume, but also pops of color,” she explains.
Alicia Broke Down Her Bob Technique On Her Insta! Check It Out Below!
View this post on Instagram
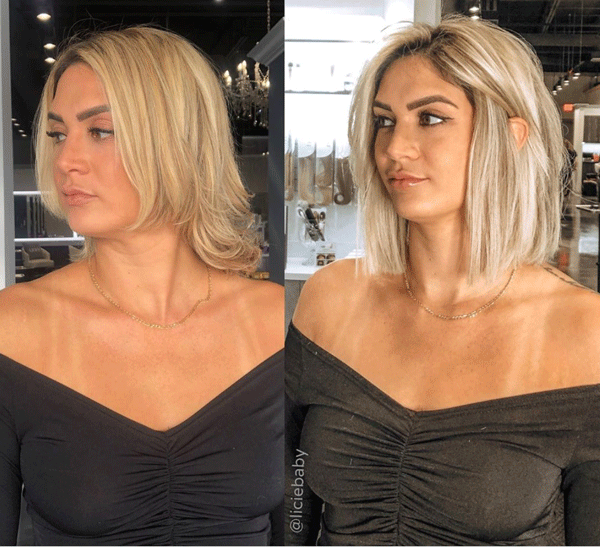
2. A Great Bob Has Volume AND A Face Frame
We agree, there is nothing better than a full, voluminous bob. But, Alicia advises to also pay close attention to the client’s face frame. “I will add a few extensions to the sides and the front to add some length and create the perfect shape for their face,” she says.
Check Out This Gorgeous Transformation Below!
View this post on Instagram

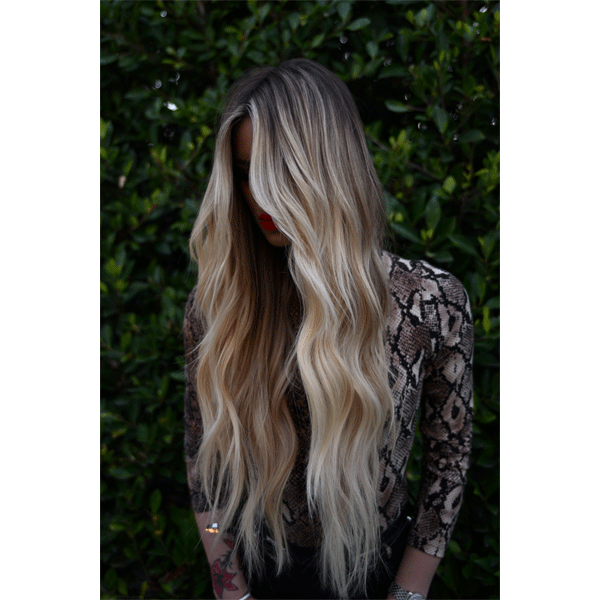
3. Customize Without Chemicals
Whether adding bright pops of blonde or lowlights to create more depth, Alicia avoids flat color by also incorporating the Colormelts extensions from hairtalk®. “It’s a great way to give clients a custom cut and color without reaching for the lightener,” she adds.
Read The Caption For Alicia’s Colormelt Placement!
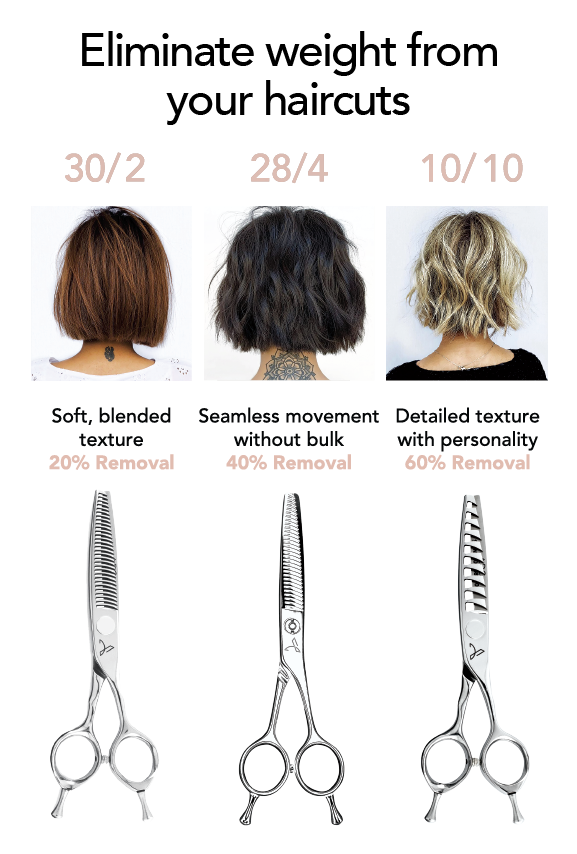
4. Create The Perfect Density With Less
Too many extensions can look fake and that is never the goal. To achieve a natural-looking finish, Alicia recommends matching the client’s natural hair density and then adding just a bit more.
To achieve the perfect blend, Alicia uses her SYMMETRY 30/2 from ARC™ Scissors to remove weight from individual tape-ins. Here’s how: “Simply bring the texturizers to the top of the extension (right under the tape) and slide the shears all the way to the bottom.” Not only does this create a customized density, but it also helps create subtle pops of color when using Colormelts.
Click Here To Read How To Give Clients Blended, Blonder Extension!
More from
Hairtalk
-
Facebook Lives
Create A Bronde Balayage Without The Bleach: Here’s How!
-
Extension Application
TRIPLE YOUR PROFIT PER HOUR: HAIRDRESSERS, LISTEN UP!
-
Manufacturer
Beauty Industry Group Announces Leadership Changes
-
Hair Extensions
How To Book And Price Multi-Method Extensions Services
-
Hair Extensions
hairtalk® Launches Keratin Extensions
-
Business
How To Choose The Best Type Of Extensions For Every Client
-
Hair Extensions
Pro Tape-In Extensions
-
Business
Get Certified in 3 Extension Installation Methods With This Online Course
-
Facebook Lives
Timesaving Technique: Instant Beaded Row™ Extension Installation
-
Hair Extensions
Instant Beaded Row™
-
BTC Events
BTC “On Tour” New York City 2020
-
Hair
Transformation: Blunt Blonde Bob With Extensions
-
WATCH: Double Hand Tied Weft Extension Application Technique
-
Hair Extensions
Double Hand Tied Weft
-
BTC Events
BTC “On Tour” Nashville—Here’s How We Closed Out Our 2019 Tour
-
BTC Events
BTC “On Tour” Nashville
-
BTC University
4 Tips To Give Clients Better, Blonder Extensions
-
Hair Extensions
Give Your Clients This Guide For At-Home Extension Care
-
Brushes/Combs
Extension Brush
-
Hair Extensions
6 Mistakes That Can Ruin A Tape-In Extension Application
-
Hair Extensions
How To Properly Prep The Hair For Extensions
-
Bobs/Lobs
Watch: Lob Styling Using Extensions
-
Best of 2018
The Extension Education You Need Before 2018 Ends
-
Hair Extensions
How-To Video: Color Conversion With Tape-In Extensions

