6 Tips For Perfectly Blended Balayage From Instagram’s Hottest Colorists

6 Of Instagram’s Hottest Colorists Share Their Best Balayage Tips
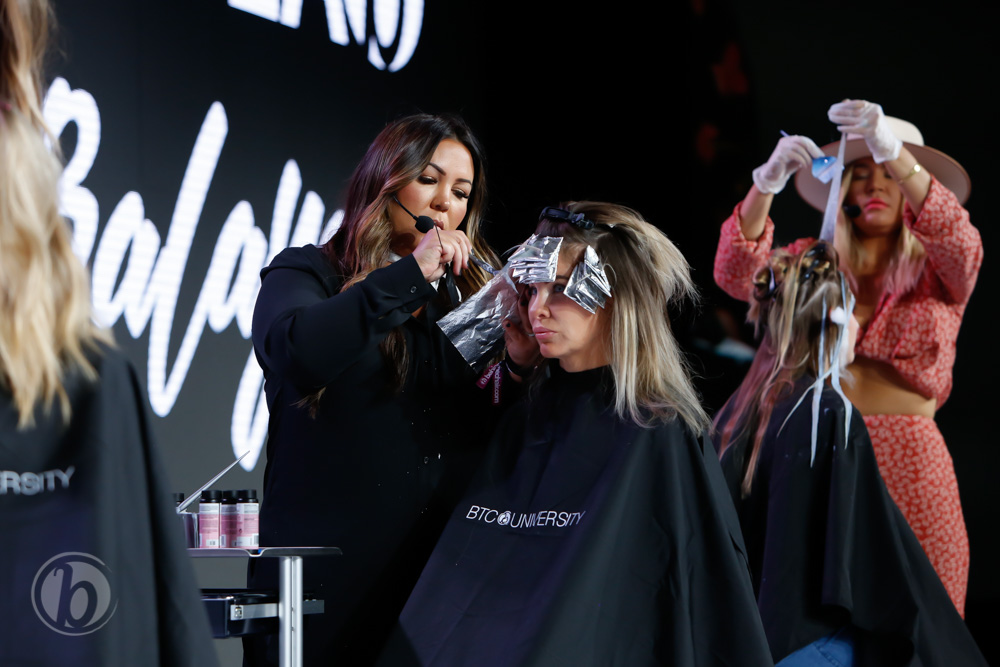
We know balayage is still one of your most-requested color services, which is why we invited six of Instagram’s hottest colorists to take the stage at THE BTC SHOW 2018 as part of our first-ever BTC Co-Lab: Balayage. (Psssst! Click here for cutting tips and click here for styling tips!)
This year’s group included:
- Peter Thomsen (@chelseahaircutters)
- Lo Wheeler Davis (@lo_wheelerdavis)
- Colin Caruso (@colincaruso)
- Michelle Zeller Porumb (@mane_ivy)
- Sarmad Najem (@hairbysarmad) and
- Jenn Malone (@jmalonehair)
From how to create depth within the exterior to what to do when certain areas aren’t lightened enough, keeping reading for six tips from these hair painting pros that’ll help you create perfectly blended balayage!
Click Here To See All The Pics From The BTC Co-Lab: Balayage Presentation!

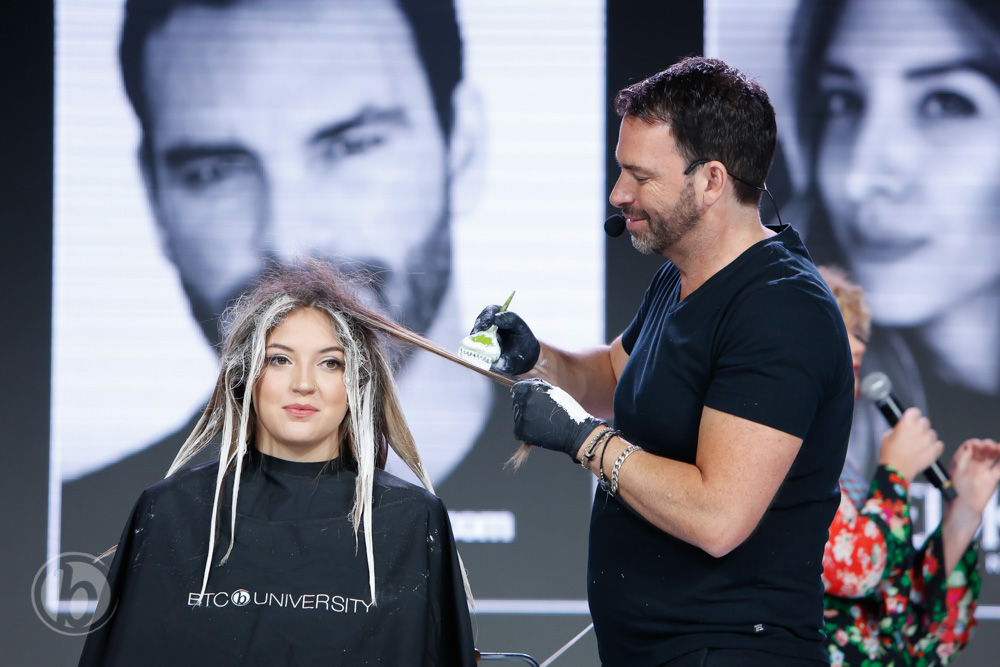
1. Create Depth With Surface Painting
Open-air surface painting is Peter’s go-to balayage technique because it builds depth in the exterior (whereas the interior already has a darker lowlight built in). Here’s what he does:
- Take triangular brick-lay sections, then tease each one at the root.
- Only paint the surface of each section, making sure the lightener doesn’t saturate all the way through.
Note: Peter likes to have his balayage clients come back every 8 to 10 weeks for a zone-tone service—aka a toning service with one or multiple toners and possibly a deep conditioning mask. This makes it easier for his clients to shift their tone if they want to be warm in the winter and cool in the summer.

2. Golden Balayage + Warm Skin Tones = A Perfect Match
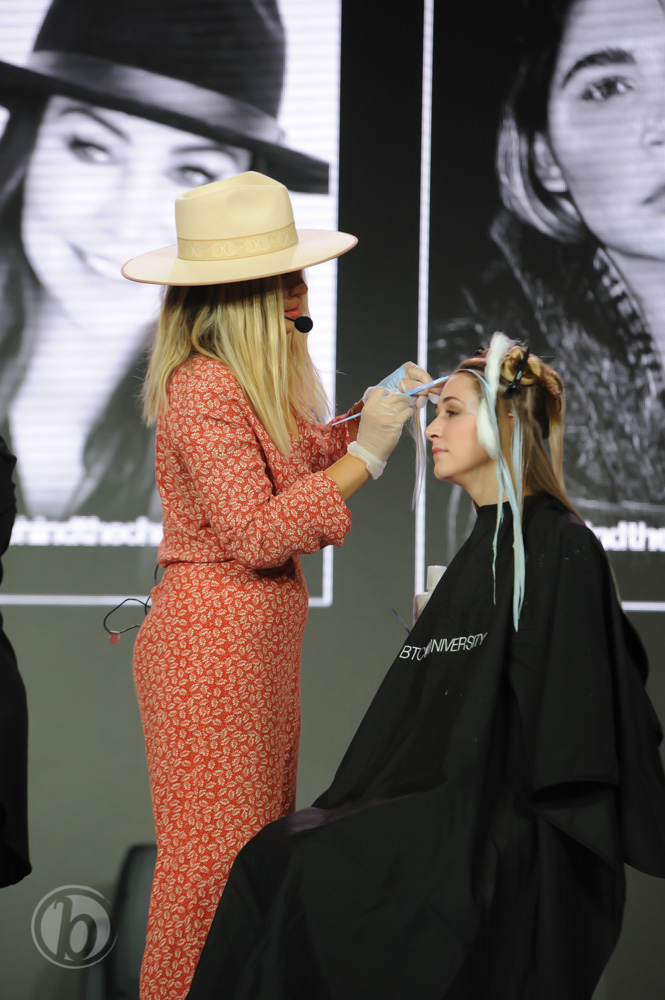
Lo says golden balayage is ideal for clients with a warmer skin tone because it’s energizing and creates a glow that makes your clients look more youthful. It’s also great for more mature clients who need gray coverage and balayage in one appointment because the golden tones restore the orange pigment that’s missing in gray hair.
3. When Certain Areas Aren’t Light Enough
For specific areas that don’t get as light as you anticipated, here’s what Colin recommends: Take your client to the bowl and tone the hair that did lighten enough. Then, paint babylights with powder lightener and a high developer to get that added lift within a quick 20 minutes at the bowl.
Pro Tip: When processing in open air, always take the temperature of the room into consideration! For example, if your salon is blasting the AC during the summer, the salon floor will be cooler so you’ll want to bump your developer up.
Watch ALL The Stage Presentations From THE BTC SHOW On BTC UNIVERSITY. Click Here!
4. @mane_ivy’s Blending Technique
Starting on the ends, Michelle likes to feather her foilayage up by painting vertically with her brush straight on the hair. Then, she uses a quick motion to blend the lightener further up into the midlengths.
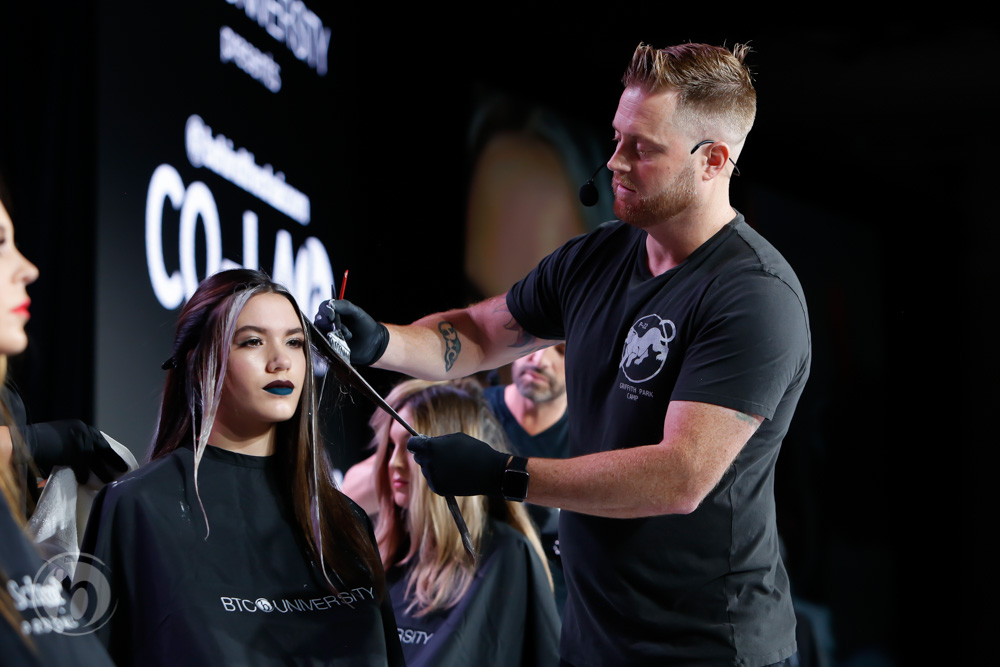
5. How To Brighten Brunettes

For brown-haired beauties who want to brighten things up, Sarmad opts for teasy lights because he needs the incubation and heat generated from a foil to achieve the desired lift. When he does this technique, Sarmad says he doesn’t have to worry about perfectly feathering the lightener up because the tease will help keep everything blended.
6. Know This When Coloring Curls
When balayaging curly hair, Jenn recommends keeping the hair in its natural state because it provides a great visual for where you need to paint. Just be sure to avoid painting super close to the root because the product could easily transfer between curls.
See what went down on Day 1, Day 2 & Day 3 at THE BTC SHOW 2018!