
6 Tips For Longer-Lasting Styles From Insta-Famous Hairstylists

6 Insta-Famous Hairstylists Share Their Top Tips For Longer-Lasting Styles
Whether you’re creating bridal updos on the reg or the occasioanl downstyle for a client’s big night out, you need to master the art of long-lasting ‘dos. So we had six Insta-famous hairstylists take the stage together at THE BTC SHOW 2018 as part of our first-ever BTC Co-Lab: Styling presentation so they could dish their best styling tips and techniques.
This year’s group of artists included:
- Nick Stenson (@nickstenson)
- Eric Vaughn (@realericvaughn)
- Annette Waligora (@annette_updo_artist)
- Maggie Hancock (@maggiemh)
- Alisha Jared (@alishajaredhairartistry) and
- 15-year-old Adam Winwood (@hair.by.adam)
Read on to get six of the tips they shared, then click here for balayage tips and click here for cutting tips!
Click Here To See All The Photos From The BTC Co-Lab: Styling Presentation!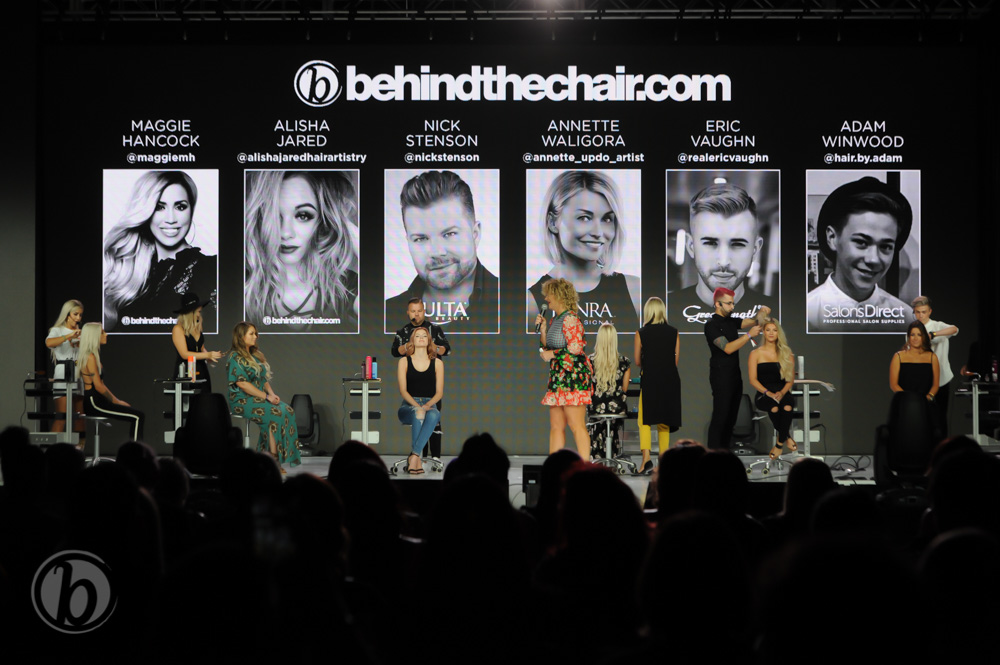
1. Create Styles That Last
If it feels like your styles have very little longevity, remember this: really put effort into the curl set and don’t overdo it on the hairspray. If you let each curl drop after removing the iron, it will conform as it falls with gravity and lose its shape because it didn’t have time to set. Instead, Nick says to always curl the hair and then pin it on the base to get that hold you desire locked in.
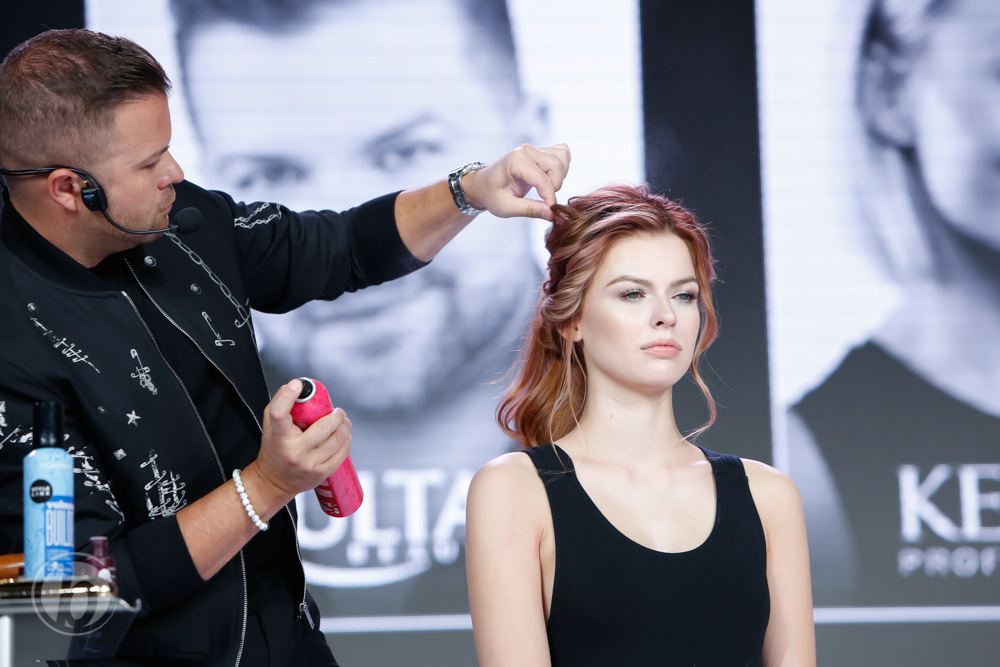
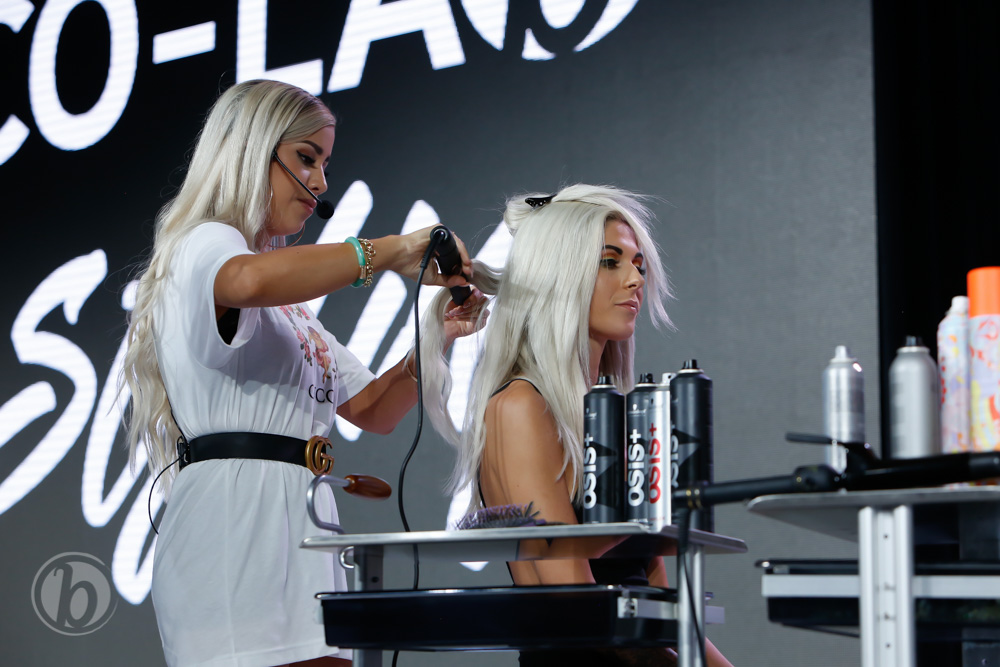
2. Extensions Require A Solid Curl Set
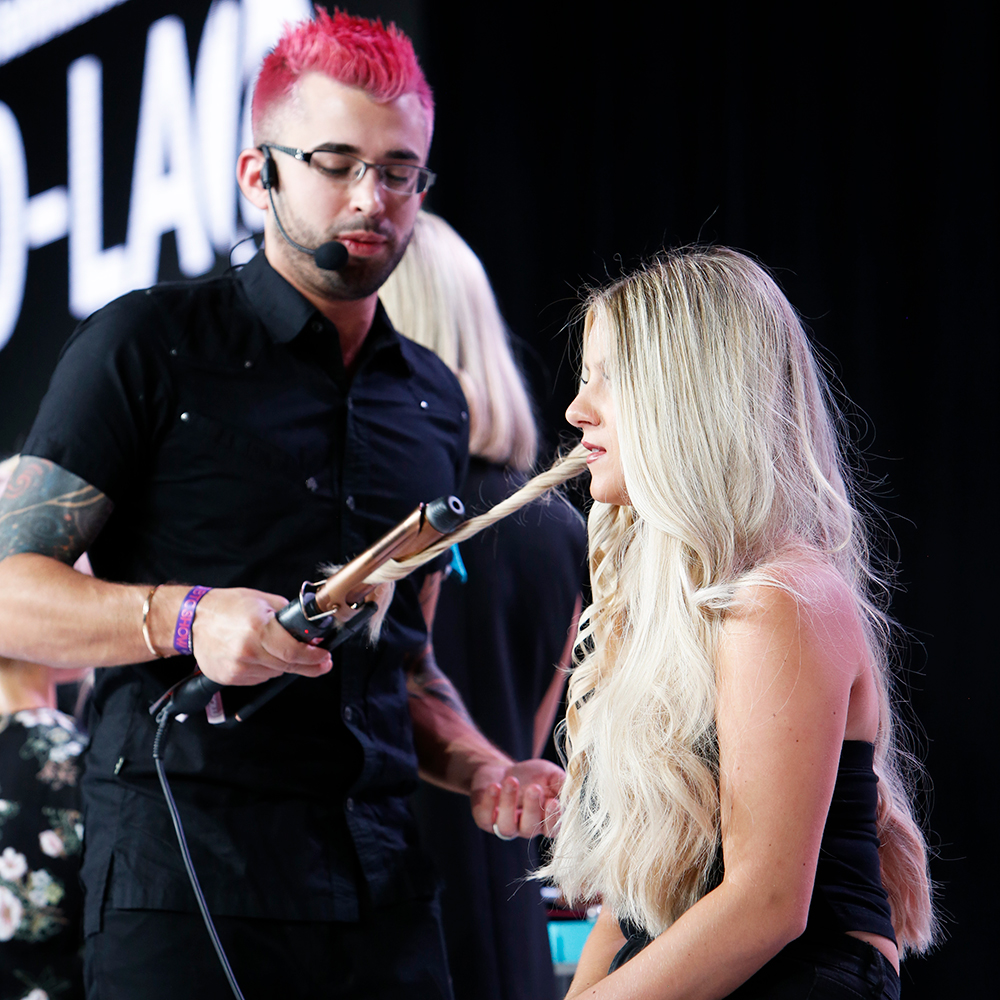
Once the extnesions are in, Eric finishes with a great curl set because spending a lot of time curling helps the style hold. But know this: The most important rotation is on the midlengths because it’s where her ends and the extensions have the most separation. So really focusing on this section will result in a smoother blend and a style that’ll last.
Note: Eric’s go-to tool for curling extensions is the amika le marcel iron because the barrel is longer and allows him to curl more hair at one time.
Products Used
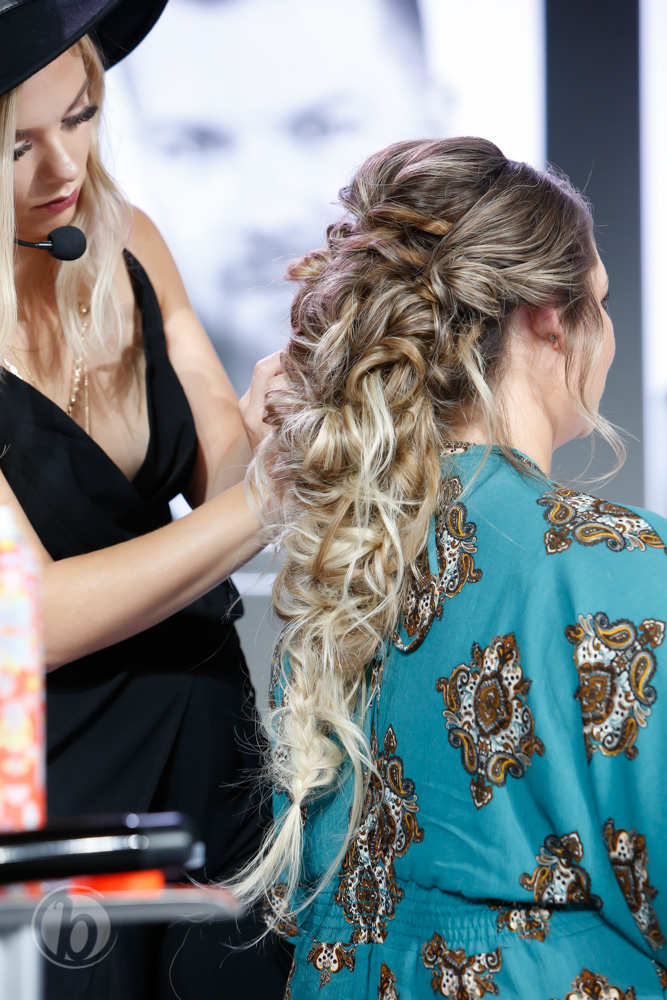
3. How To Handle The Crown
For styles where the base is going to sit at the crown, Annette likes to bring the hair back in sections to give this area separation and to make it look more interesting. Here’s what she does:
- Take a 2-inch section and twist it back.
- Use a tail comb to gently pull and pancake the section to give it some lift.
- Then, secure the section into place using a tunnel pin.
Pro Tip: This technique is also great to use on brides who have no dimension in their hair because it creates the illusion of a dimensional, fuller style that won’t fall flat in photos.
Watch ALL The Stage Presentations From THE BTC SHOW On BTC UNIVERSITY. Click Here!
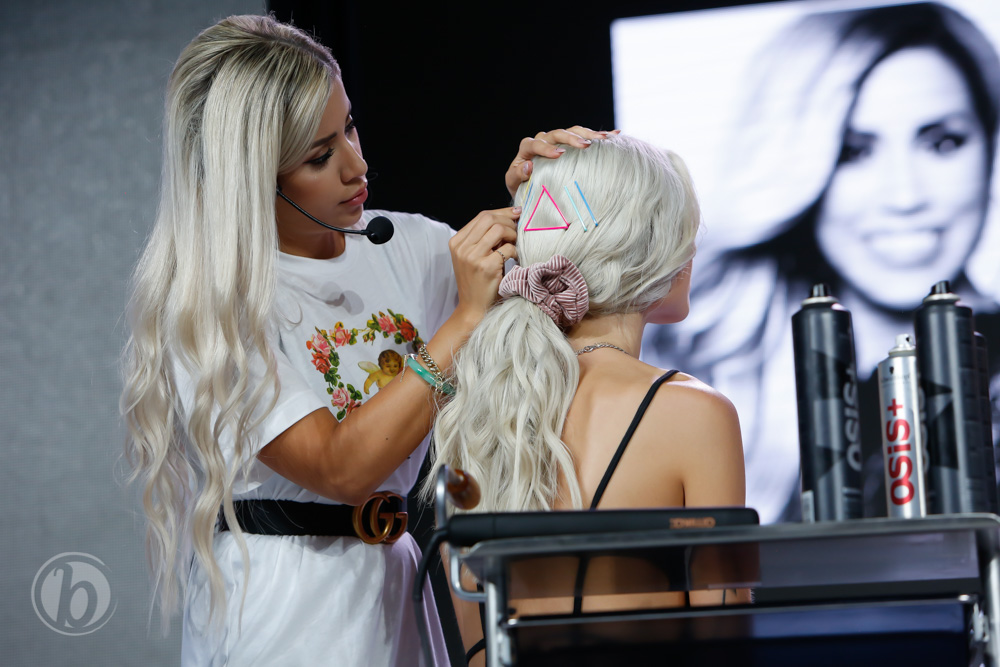
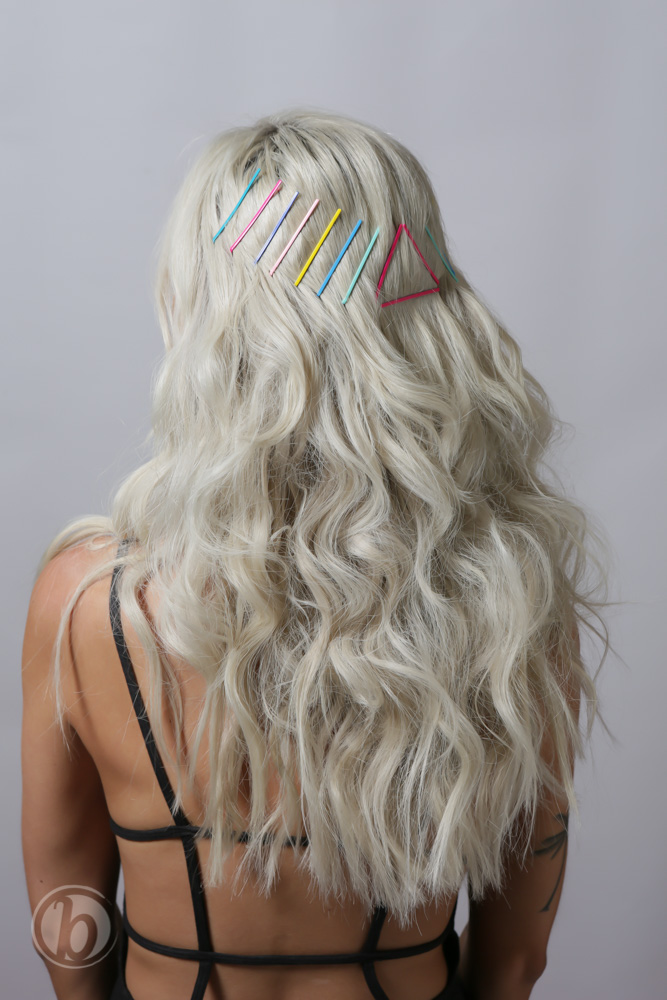
4. Switch Up Your Waving Technique
Don’t feel like you have to stick to one curling technique, especially if you’re just going to pull all the hair up into a super chic style. Maggie likes to use a flat iron—because it’s super fast and helps her get a variety of textures—to not only curl the hair in both directions but to also create S-waves and a relaxed finger wave curl all on one client.
Pro Tip: Stock up on inexpensive rainbow bobby pins and use them to detail your styles like Maggie did on her model below!
5. Keep Bobby Pins Closed—And Use A Lot Of Them
For longevity in your styles, Alisha recommends keeping bobby pins closed when you insert them because you’ll get more hold out of them. You’ll also want to use a lot of bobby pins to ensure the style stays put. So how does Alisha keep them all hidden? By pinning them into the bottom of the style so they’re completely masked!
6. The Trick For A Clean Face-Frame
When clients want a downstyle paired with curls left out in the face-framing area, Adam likes to weave some of the strands into the style so it doesn’t look like a mass of hair left out in front. Doing this keeps those curls in place and makes his styles look more sophisticated.
See what went down on Day 1, Day 2 & Day 3 at THE BTC SHOW 2018!

