
5 TIPS FOR CUTTING CURTAIN BANGS ON ANY CLIENT


5 Tips For Cutting Curtain Bangs On Any Client
Curtain bangs are EVERYWHERE on TikTok and Instagram so we KNOW your clients are asking for them. These low-commitment bangs are the perfect way for your clients to dip their toes into fringe territory. Scroll through for tips and tricks on how to create this low-maintenance fringe on any client!

1. Face shape matters.
The first step to creating a curtain bang is to consider your client’s face shape. While pretty much anyone can wear a curtain bang, how you tailor them to your client’s face shape is the most important.
Rule of thumb: The eye is drawn to where the shortest piece lies on the face. Ask your client what length they are comfortable with, then look at their face to see which features you want to highlight.
“It’s about balancing the weight,” explains Megan McKee (@megmdoeshairs). “When you have a curly bang, it creates a heavy weight line. You want to make sure you balance the weight from the bang and face frame with the weight from the overall shape of the haircut.”
“Face shapes are important because they determine how heavy you should or shouldn’t make the bangs. If someone has a smaller forehead, you don’t want to create a fringe that is too heavy or overpowering,” explains Eunice Kim (@eunicekimhair)
2. It starts with sectioning.
Section, length, and texture are the three fundamentals for the perfect fringe. It starts with sectioning. “Sectioning is KEY. If you go too wide on the sides, that can make the fringe too open and will actually make the face look wider and you will lose the edge of the fringe,” explains IGK Haircare Co-Founder Franck Izquierdo (@franckhair).
Another mistake when sectioning for a curtain bang is going too far back towards the top of the head. “This will create a fringe that is super heavy and hard to style. It can also create a fringe that is too strong for your clients face,” says Franck.


3. Work your way up.
Getting a fringe for the first time can be scary for a client. It is always best to start longer and work your way up. This gives you the opportunity to check-in with your client along the way, but also ensures you don’t go too short.
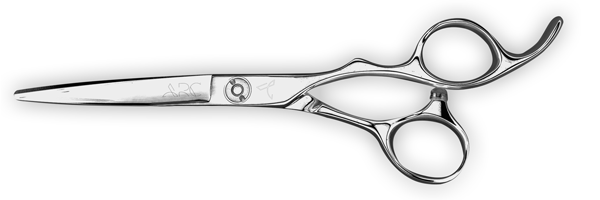
“One of the biggest mistakes you can make is cutting at the ‘perfect length’ right away. It’ll get shorter once it dries. Start at the middle of the nose first and go shorter from there. Another tip I like to do is start in the middle, and then go outwards so everything stays even,” explains Eunice. Eunice uses the ARC™ Scissors PHANTOM II, and for detail work and getting into small spaces, she prefers a 6-inch blade.

Want to put Eunice’s tips to the test? Click here to purchase the ARC™ Scissors PHANTOM II.
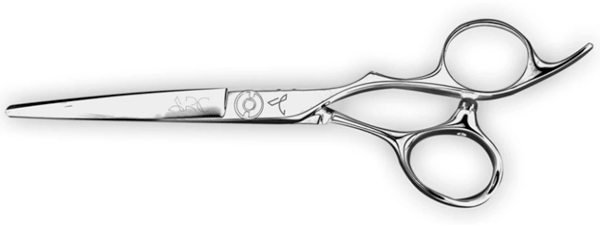
ARC™ Team Member Chris Jones (@chrisjones_hair) likes to create the shape of his fringe and texturize on dry hair at the very end using his ARC™ Scissors PARAGON II. Press play below to watch this technique in action.
Ready to try Chris’ dry-cutting technique? Click here to purchase the ARC™ Scissors PARAGON II.
4. Consider your client’s texture.
Texture matters when trying to plan a fringe for your client. “One of the biggest mistakes one can make when cutting curly bangs is not accounting for ‘shrinkage’, which is the actual length of the hair versus where the hair lays in its natural curly state. So, if you use maximum tension while cutting curly bangs, you have to remember that the hair is going to spring up and live much shorter than where you cut it,” explains Megan.

5. Personalize.
While you can create a bang for pretty much every client, they are not one size fits all. The best part about giving your client a new fringe is the personalization. The client’s texture, face shape, and features all determine the amount of weight removal and texturizing necessary. “It’s all in the details,” says Rachel Williams (@rachelwstylist). Rachel uses multiple techniques to texturize and personalize her clients’ bangs using her 6-inch ARC™ Scissors PHANTOM II. Press play below to see these techniques in action!
Want more ARC™ Scissors education? Click here to visit our education portal!
More from
ARC™ Scissors
-
Blowouts
Bob Styling Guide: 5 Ways To Style Short Hair
-
BTC Hair Trend Report
The Biggest Haircut Trends of 2024
-
Dry-Cutting
Bang Breakdown: How To Cut 2024’s Top Fringe Trends
-
Dry-Cutting
2024 Fringe Guide: How To Consult, Cut & Style Trendy Bangs
-
BTC University
10 Gifts & Stocking Stuffers on Every Hairdresser’s List This Year
-
BTC Events
BTC “On Tour” Nashville Recap: Everything You Missed
-
BTC Hair Trend Report
The Biggest Haircut Trends of Fall & Winter 2023
-
BTC Hair Trend Report
Layering Guide: How To Cut & Style With Confidence
-
Bobs
The ’90s Bob: How To Cut & Style This Trending Haircut
-
Facebook Lives
Volume Guaranteed: Try This Layering Technique For Fine Hair
-
Barbering
How To Style The Biggest Men’s Summer Trends
-
Bobs
The Biggest Haircut Trends of Summer 2023
-
Bobs
The French Bob: How to Cut it
-
Bobs
The Bixie: 3 Cutting Techniques to Master the Look
-
Brunette
Trend Breakdown: Hailey Bieber’s Glazed Brunette
-
Barbering
2023’s Top 9 Hair Trends For Men
-
BTC Hair Trend Report
2023 Fringe Guide: How To Cut This Year’s Biggest Trends
-
BTC Hair Trend Report
2023 Hairstyling: 11 Trends You Need To Know
-
BTC Hair Trend Report
Invisible Layers: What This Haircut Trend Really Means
-
BTC Hair Trend Report
2023’s Biggest Haircut Trends
-
Bobs
Hailey Bieber’s “Preppy, Contoured Bob” Trend: What You Should Know
-
BTC University
4 Styling Secrets For Butterfly Layers
-
This Year’s BIGGEST Products: 2022’s Most Talked About
-
Bobs
The Biggest Winter Haircut Trends To Kick Off 2023

