
4 Mistakes When Lifting Platinum Blondes + How To Fix Them

Platinum Blondes: How to Avoid These Common Bleaching Mistakes
What’s the secret to achieving the perfect platinum blonde? Lifting to a clean Level 10. But if you’re struggling to achieve that pale yellow canvas every platinum client craves—we’re here to help. 2019 #ONESHOT Platinum Finalist and blonding expert Rachel Williams (@rachelwstylist) broke down four common lifting mistakes and easy fixes for each and we are sharing it all below—with video tutorials!
Scroll down to learn Rachel’s secret for keeping platinum clients healthy before and after lifting, how to avoid banding and why indirect sunlight isn’t just for photos!

Mistake #1: Only protecting the hair when lifting
Solution: Protect & treat the hair before toning for long-lasting color
Treating the hair when lifting is a must—but Rachel also treats and protects her platinum clients before and after toning to avoid fast-fading toners and maintain strong, healthy strands. Check out Rachel’s two-step system below:
- Before lightening, prep with K18 Hair Professional Hair Molecular Hair Repair Mist by spraying on dry hair section by section.
- After cleansing, Rachel applies the Leave-In Molecular Repair Mask from K18 Hair before applying a toner.
- Before styling, Rachel applies the Leave-In Molecular Repair Mask again to protect and repair the hair after the client leaves her chair.
Click Here To Purchase + Learn More About The Professional System From K18 Hair

Mistake #2: Rinsing the hair too soon & not lifting enough
Solution: Check progress with a timed system
Can’t tell when your client is done processing? Think food—REALLY! “The lifted hair should look like the inside of a banana peel,” Rachel explains. To avoid rushing the processing time, Rachel uses a 15-minute check system to avoid rinsing too soon:
- First Check: 15 minutes of processing. Rachel uses the backside of a comb to push the product away to check the level. If it is not ready she reapplies the lightener and will insulate the hair in a bag.
- Second Check: 15 minutes after the first check. If the hair is still not ready, Rachel will repeat the steps above.
- Third Check: 10 minutes after the second check (40 minutes total processing time): If the hair looks ready, Rachel suggests taking a small section and spraying it down with water to remove the lightener. This will give you a clear visual for evaluating the lift.
Check Out The Video Below!
View this post on Instagram
Mistake #3: Not checking the hair in natural light
Solution: Use indirect lighting for accurate results
Indirect lighting is KEY for taking photos—but it is also the best way to check how a client is lifting. Salon lighting can make the hair look warmer, so Rachel suggests taking a client outside (in the shade!) to check for that perfect, pale yellow tone.
Mistake #4: Lifting the entire regrowth area at the same time
Solution: Avoid banding with a two-step application
Touching up platinum clients with large areas of regrowth can be stressful. So Rachel uses a double application to avoid banding and achieve an even lift. Here’s how:
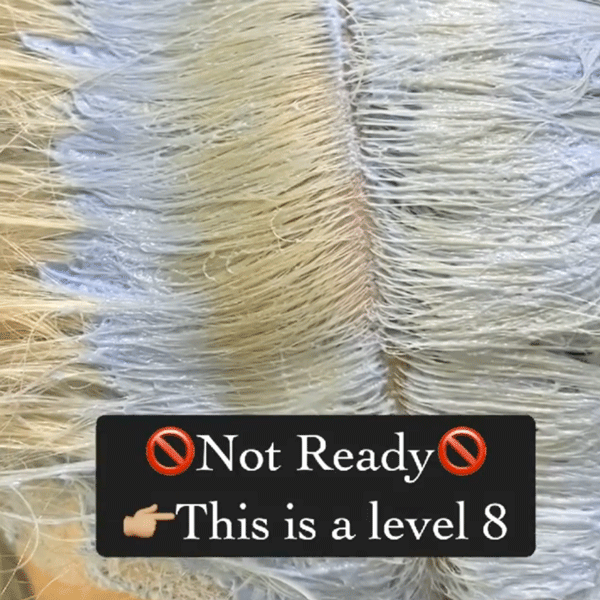
- First Application: Mix lightener with a low developer (Rachel suggests a 10-volume) and apply at the line of demarcation, leaving a quarter to a half inch of regrowth at the scalp. Lift to a Level 8.
- Second Application: Mix a second bowl of lightener but with a bumped up developer (Rachel mixed equal parts 10 and 20-volume) and apply on the scalp. Allow everything to process together to a Level 10.
Rachel Shares Her Retouch Process In The Video Below!
View this post on Instagram
More from
Rachel Williams
-
Blonde
The Biggest Hair Color Trends of 2024
-
BTC Hair Trend Report
The Biggest Haircut Trends of 2024
-
Dry-Cutting
2024 Fringe Guide: How To Consult, Cut & Style Trendy Bangs
-
BTC Hair Trend Report
Bangs Are Trending: 70+ Fringe Inspiration Pictures
-
BTC Events
BTC “On Tour” Nashville Recap: Everything You Missed
-
BTC Hair Trend Report
Layering Guide: How To Cut & Style With Confidence
-
Blonde
When To Formulate With Ash Gold Toners
-
Bobs
The ’90s Bob: How To Cut & Style This Trending Haircut
-
Business
Instagram for Hairdressers: 8 Ways To Grow Your Business
-
All-Over Bright, Shimmery Blonde
-
Styling
The Hottest Styling Trends of Summer 2023
-
BTC ON TOUR
BTC “On Tour” Dallas 2023
-
New Appointments
Moroccanoil® Announces New Ambassadors & Ash Gold Series
-
Blonde
2023’s Biggest Hair Color Trends
-
BTC Hair Trend Report
2023’s Biggest Haircut Trends
-
BTC Hair Trend Report
’90s Supermodel Layers
-
Blonde
Honey Blondes & Brondes
-
Best Of 2022
10 Toning Tips You’ll Need in 2023
-
Barbering
2022 Best Of Cutting: Every Tip & Quickie We Loved
-
Bobs
The Biggest Winter Haircut Trends To Kick Off 2023
-
Accessories
15 Styling Trends That Will Be Everywhere in Winter 2023
-
BTC Hair Trend Report
TREND ALERT: Retro Shags
-
Fine/ Thinning
Fine Hair: Do You Know How To Handle It?
-
Styling
The HOTTEST Styling Trends Of Fall 2022

