
3 Problems When Foiling The Hairline & How To Fix Them

Struggle with Foiling the Hairline? Try These 3 Techniques
Dark holes, striped highlights, slipping foils—foiling the hairline can be stressful. But don’t worry, 2021 #ONESHOT Collab Winner Ashlee Norman (@ashleenormanhair) is here to calm your foiling nerves. She broke down three struggles when highlighting the hairline and her easy fixes for each! Keep scrolling for all the deets and become a BTC-U Member to watch her’s entire course!

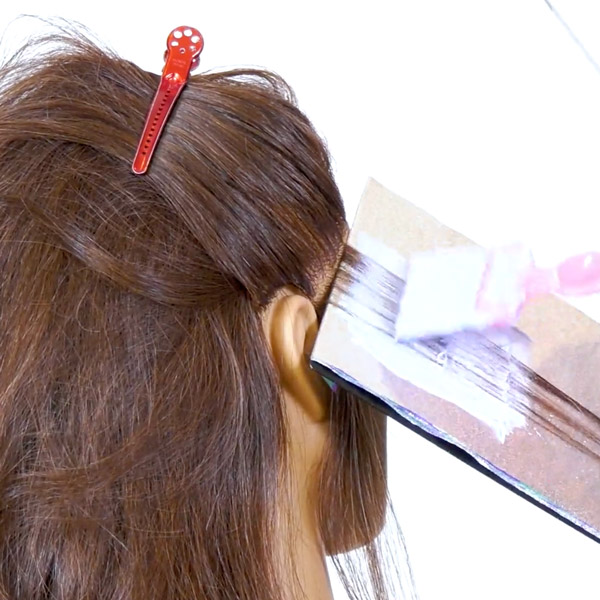
Problem: Dark holes at the recession
Solution: Use a shuffle foil placement for maximum coverage
A stacked placement around the hairline is perfect for creating brightness around the face but can leave a dark hole at the corner of the high recession area. Why? “A stacking (or square) placement creates bars of blonde around the face—completely missing that area of the hairline,” Ashlee explains.
Her solution: Think of a deck of cards. “When you fan out a deck of cards, it creates an overall rounded shape made of smaller square shapes. This is exactly like what we need to do at the hairline,” she explains. Here’s how:
- Starting at the temple, take a diagonal back parting and place a foil.
- Instead of stacking foils corner to corner, place the foil two-thirds into the previous section, pivoting slightly.
- Repeat the placement, ending with a diagonal back parting the center part.
- Use the same technique on the opposite side, resulting in a triangle at the center part.
“This placement is great because everyone’s hairline is different. So you are able to adjust the foils to get the coverage you need, no matter how tricky the hairline is,” Ashlee adds.
Problem: Not enough brightness around the face
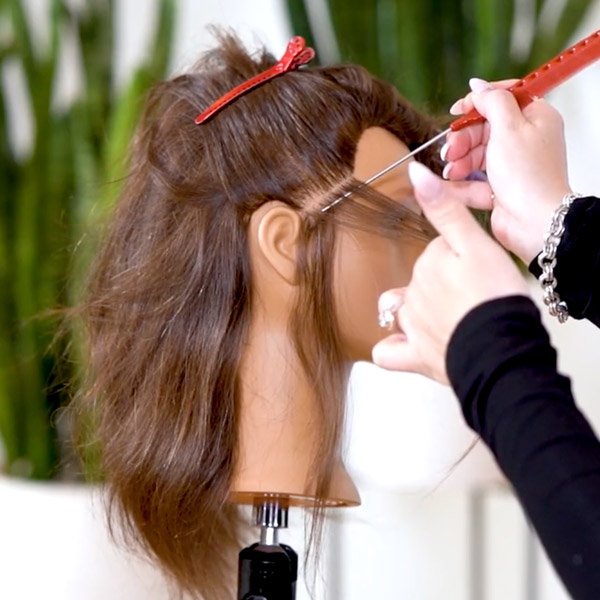
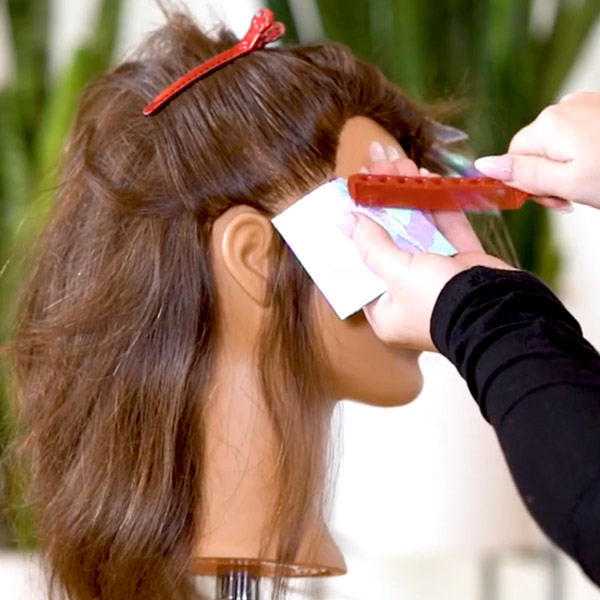
Solutions: Adjust weave size to create strong ribbons of brightness + internal depth
“An even weave across the entire section doesn’t create enough brightness around the face, especially for clients that want a bold face frame,” Ashlee explains.
Starting with a slice—getting as close to the scalp as possible—Ashlee takes a larger stitch at the hairline. Then, she gradually moves to a smaller stitch at the back of the section. This avoids creating holes of depth where clients want to see brightness and stripes when the hair is pulled back.
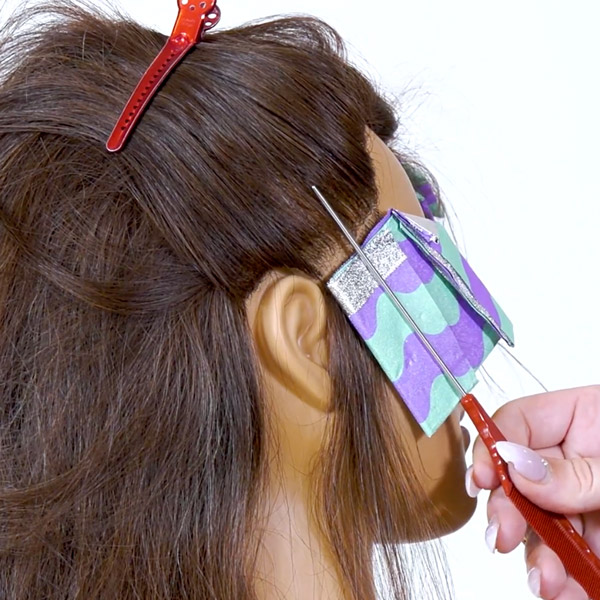
Problem: Slipping foils create bleach bleeds
Solution: Lock-in foils with a 5-fold technique
There is nothing worse than achieving the perfect placement only to have foils slip during processing. To lock foils in, Ashlee uses a 5-step fold technique:
- Fold #1: Start by folding the foil in half, closing at the scalp.
- Fold #2: Fold the foil in half again. Then, tuck the lip of the foil in tighter to avoid bleeding at the scalp.
- Fold #3: At the back, fold the foil to match the width of the section.
- Fold #4: At the front, fold past the width of the section leaving extra room at the front of the foil.
- Fold #5: Use the extra space at the front to fold the corner in, locking the foil into place.
Check out the end result!


More from
Ashlee Norman
-
BTC Hair Trend Report
The Biggest Haircut Trends of 2024
-
Base Breaking
When To Use A Soft Base Break Instead of A Shadow Root
-
Blonde
5 Tips For Gray Coverage Beyond A Root Touch-Up
-
BTC University
Toning with Permanent Color: How to Avoid Banding
-
BTC Hair Trend Report
2023 Hairstyling: 11 Trends You Need To Know
-
BTC Hair Trend Report
2023’s Biggest Haircut Trends
-
BTC Hair Trend Report
’90s Supermodel Layers
-
Fringe
5 Fringe Cutting Tips For Soft, Natural Bangs
-
Balayage
Rooty Blonde Foilayage
-
Haircuts
This Lob Cut Is Perfect For Fine-Haired Clients

