
4 Photography Tips Every Barber Should Know

Barbers: Tips On Lighting, Body Position & Angles
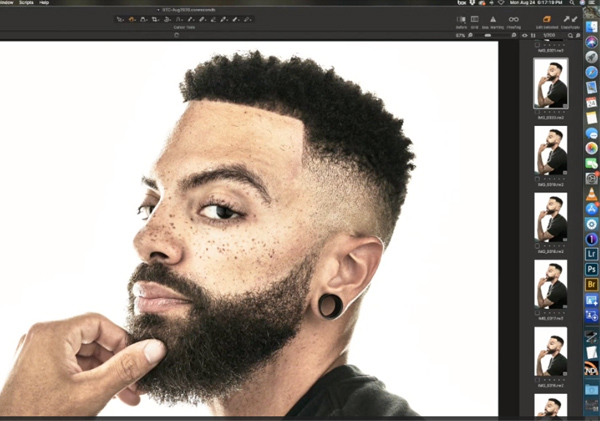
Whether you’re trying to elevate your IG feed, attract clients or just get more comfortable shooting hair—we have some photo tips every barber needs to know! World-renowned photographer and founder of American Crew® David Raccuglia (@david_raccuglia_photography) teamed up with Paul Wilson (@paulwilsoncrew), Anthony Johnson (@tonejohnson) and Helen Feeney (@helenfeeneyhair) to teach a photo class at The BTC Show ONLINE 2020. Here’s what we learned!
Keep scrollin’ for a few tips and tricks that will help you step up your photo skills, straight from the American Crew® studio!
1. Try This Simple Photo Set-Up
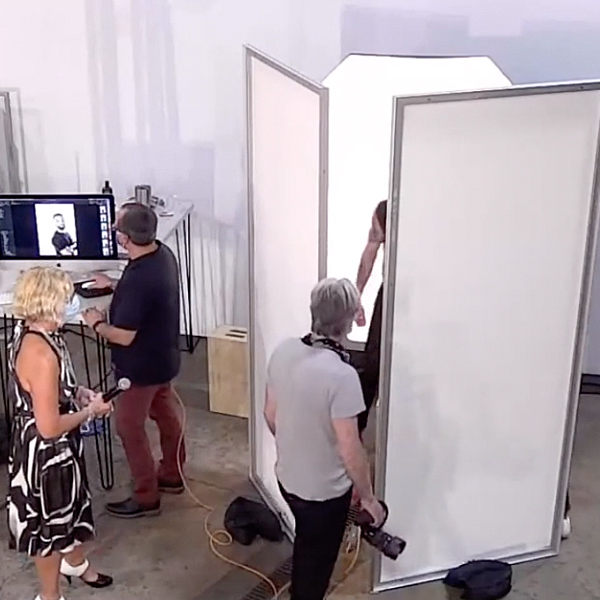
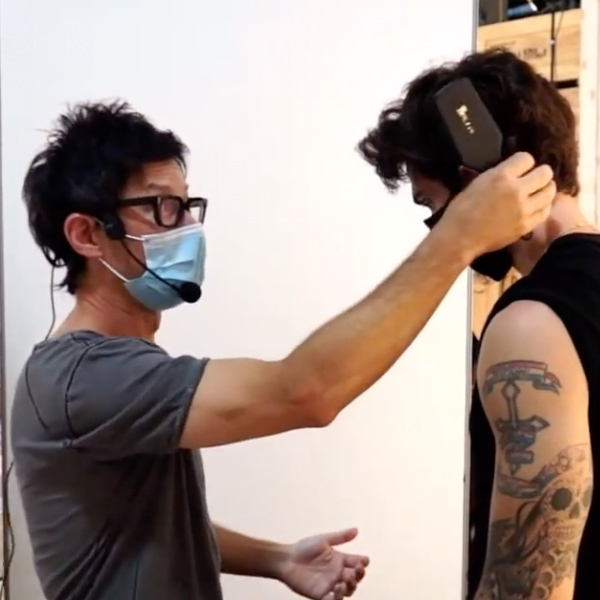
Here’s a simple approach to achieving big-studio quality with less space. Plus, it only requires one light! This is how David uses a 4ft x 4ft area and a few tools that have all the same elements of a production studio:
- One light source, coming from behind the model or guest.
- Two white cards to reflect light back onto the face.
- A camera of your choice.
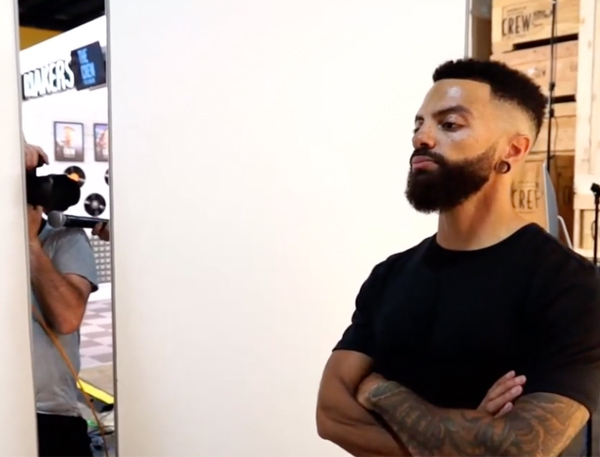
2. Lighting Breakdown:
- Light Source: This set-up only requires one light. David recommends trying a monolight or a strobe instead of a hot light. These are self-contained studio flash lighting sources that are cooler than hot lights.
- Light Direction: Shoot the light from the back, so it’s coming from behind the model/guest. This means there is no front light.
- White Cards: Use two white cards to push the light back onto the model/guest’s face. This will create a more natural look.
- Why This Set-Up Works: “Having a back light when you’re shooting hair pushes and wraps the hair around,” shares David. “Every little edge of the hair shows. It gives an interesting perspective opposed to pushing the light at it.”
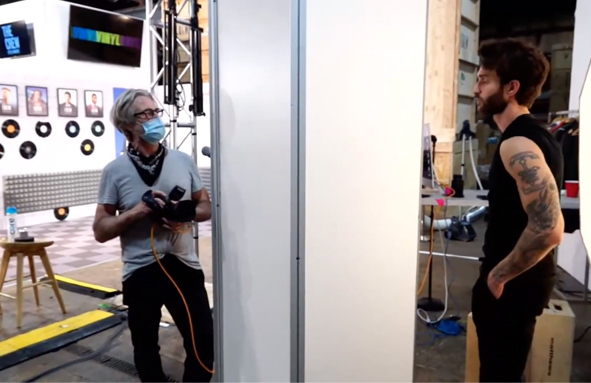
3. Body Positioning & Angles
When you’re shooting hair, especially men’s cuts and shorter crops, capturing angles that accentuate the silhouette and texture is KEY. You are going to have to mold and move your client to get that perfect shot, so get comfortable with this type of language. Here are some examples:
- Keep your body where it’s at, but cheat your chin towards me.
- Stare directly at me, now let your eyes drift away. Go to the left with your eyes, go to the right.
- Bring your chin around.
- Turn your head to a profile, but lean your head towards me.
4. Here Are A Few Body Position Ideas
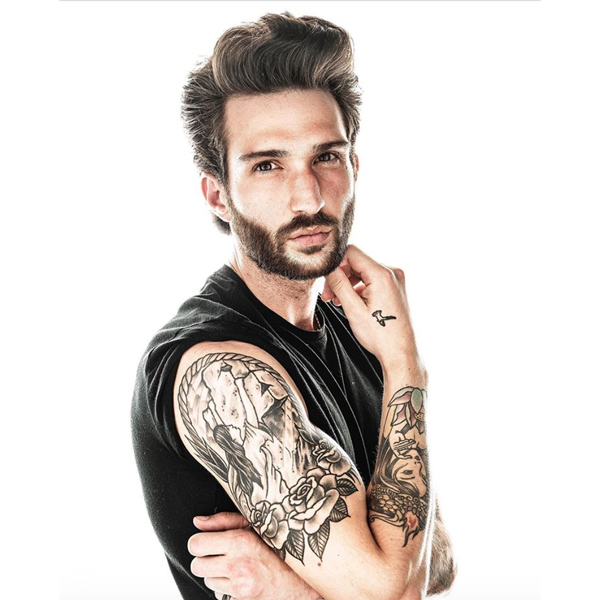
Fades: Ask the model/guest to go to a full profile and cross their arms, but cheat their chin back towards you until you find the right angle. Shoot low to work right up into the hair—this shows every detail.
Men’s Haircuts: “Getting a low angle and having a model lean into you is a great way to show a haircut,” shares David. “And the exact opposite. Like a high angle that works down to feature the top of the style. It’s a simple dance between low, high and straight on.”
Gesture: Just keep shooting. Instead of only taking a few shots, take 10 to 40. This allows the model/guest to work with different gestures and angles. “I like a picture to look hard and soft at the same time,” shares David. “It’s not just the hair—you need to get the right look.”
More from
American Crew®
-
News
How Maui Hairdressers Are Rebuilding Post-Lahaina Fires
-
BTC Events
BTC “On Tour” Nashville Recap: Everything You Missed
-
Barbering
Beyond the Barber’s Chair: David Raccuglia on The Rise of Men’s Grooming, Inclusivity & The Future of Fundamentals
-
Business
Here’s How To Get Male Clients To Buy Retail
-
3 Round Men’s Haircuts + Head Diagrams To Save Now
-
Men's
3 Lean Men’s Haircuts + Head Diagrams To Save Now
-
Barbering
How To Style The Biggest Men’s Summer Trends
-
BTC Hair Trend Report
How To Get Alexander Skarsgård’s Classic Met Gala Hairstyle
-
Barbering
Fades: 3 Tips To Add Texture & Movement
-
Product Launches
Our Editor’s Must-Try Hair Products This Summer
-
Styling
Matte Clay Spray
-
Celebrity
2022 Met Gala: Your Insider Beauty Recap
-
Celebrity
The Best Hair & Beauty Looks From The Oscars 2022
-
Celebrity
Elliot Page’s Tousled Fringe At The 2022 Oscars
-
Detangler
Prep & Prime Tonic
-
Awards Shows
2022 SAG Awards: The Best Celebrity Hair + Beauty Looks
-
Best Of 2021
The 7 Best Gray Coverage & Color Tips Of 2021
-
Beard Oil/Care
Men’s Gray Blending In Just 5 Minutes? Here’s How!
-
Lather Shave Cream
-
Gray Coverage
Precision Blend
-
Celebrity
Met Gala 2021: See The Best Celebrity Hair & Beauty Looks!
-
Celebrity
Kit Harington’s Slick, Old Hollywood Style
-
Gel
Medium Hold Spray Gel
-
BTC Events
#thebtcshow 2021

