
3 Dry-Cutting Techniques For Face-Framing Layers

Mastering The Face Frame: @philipwolffhair’s Dry-Cutting Techniques
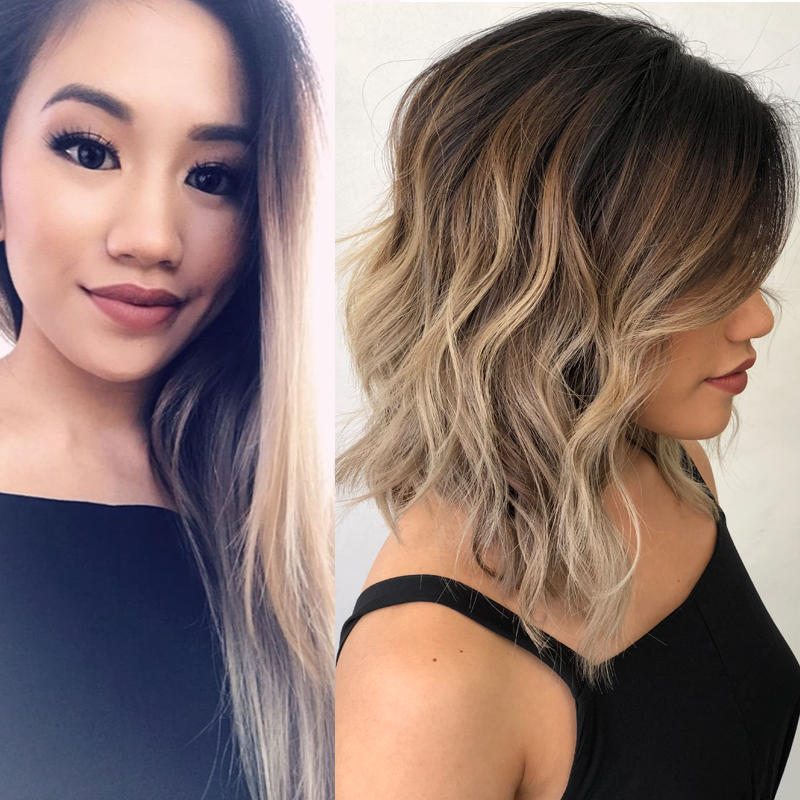
The face-frame is the money spot where you should be using techniques to customize every haircut—it’s the area your clients see the most in the mirror and their selfies! That’s why it’s good to stay updated on the latest cutting trends, like dry-cutting, and tips for personalizing layers to highlight their best features.
To break down everything you need to know about dry-cutting the face-frame, LA cutter Philip Wolff (@philipwolff) went live at The BTC House—click HERE to purchase the video playback and get lifetime access! But first, scroll through some of his best tips!
1. Establish The Guide: Where To Place Point A & Point B
- Start by analyzing the client’s face shape, hairline, and hair density before establishing the guide. Then visualize where you want the arc of the face frame to live—use this to determine where Point A (starting point) and Point B (where no length is removed) will be.
- Personalize the cut by slightly adjusting Point A to highlight each client’s best features. Do they have beautiful cheekbones? Start at the chin. Great jawline? Start at the corner of the lip. Begin the conversation with new clients about how they style their hair on an everyday basis.
2. Use This Carve-Cutting Technique
Working from Point A to Point B, connect by slide-cutting to carve out the face frame and follow these three easy guidelines:
- Elevation – Hold the section 5 to 10 degrees off the face.
- Distribution – Maintain natural fall.
- Execution – Comb the hair downward, then carve out the face frame by slide-cutting from Point A to Point B.
3. Here Are 3 Tips For Easier Slide-Cutting & Maintaining Length
- As you carve out face-framing layers, point the direction of the shears toward Point B to carefully carve out the face frame. Philip recommends always cutting with the middle of the blade—this spot is sharper on the shears, and makes it easier to glide through dry hair.
- Philip recommends slightly tilting the client’s head in the opposite direction of the side you’re cutting on to help the hair fall forward for a better free-hand cut.
- Want to avoid removing too much length? Philip aims to keep his shears almost completely parallel to the section he’s slide-cutting. The deeper the angle, the more hair will be removed.
More from
Philip Wolff
-
#thebtcshow 2019
#THEBTCSHOW 2019: DAY 2
-
THE BTC SHOW 2019
Matrix At #THEBTCSHOW 2019
-
Barbering
5 Cutting Articles BTCU Blessed Us With In 2018
-
Blowouts
High-Volume Bombshell Blowouts: Tips & Techniques
-
#THEBTCSHOW 2018
7 Expert Haircutters Share Their Top Tips For Today’s Trending Cuts
-
Balayage
THE BTC SHOW 2018: Day 1
-
BTC One Night Stand
2 Fringe-Cutting Techniques That Frame Your Client’s Face
-
BTC One Night Stand
3 Texturizing Techniques For Shags & Layered Haircuts
-
Color Protecting
WATCH: Textured Midlength Chop From @philipwolffhair
-
Dry-Cutting
Dry-Cutting Long Layers
-
3 Cutting Techniques For Added Texture From @philipwolffhair
-
Bobs
Lobs, Bobs and Fades—BTC Launches Cutting-Only Educational Event
-
Blowouts
QUICKIE: Make Waves With This 3-Step Blowout Technique
-
Blowouts
Blowout Tips and Techniques For Showing Off A Haircut
-
Hair Color
2018 Trend Radar: Here’s What Top Hairdressers Have To Say
-
Haircuts
Not Your Uncle’s Mullet: 3 Ways To Approach This Iconic Cut
-
Events
BTC “On Tour” Takes LA

