
11 Tips for Your Best Balayage

With celebs like Kim Kardashian, Jennifer Aniston and Chrissy Teigen always wearing a perfectly hand-painted color, it’s no wonder your clients come in every day asking for your best blended balayage. So, we gathered some of our favorite technical tips and key things to remember when it comes to creating balayage masterpieces. Check out our 11 top tips from a few of the most sought-after colorists in the industry!
1. The Baby Hair Rule
If a client has baby hairs at her hairline, make sure to avoid applying lightener in this area. Lightening these pieces will draw attention to them. “It’s like, ‘Oh, is that breakage?’ No one wants that,” says color guru and social media sensation Guy Tang.
2. Where To Start
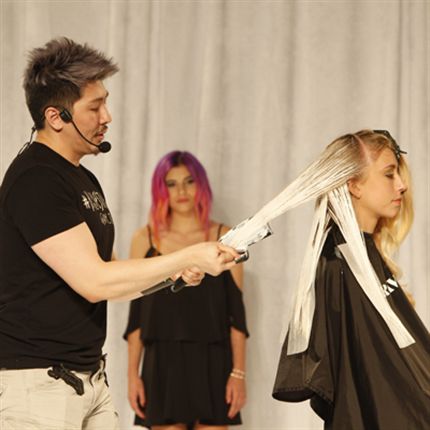
When applying lightener, always start in the middle of your section and work your way up. Also, start by using a horizontal brush stroke, then go in vertical and feather the color in finer slices.
3. Textured-Hair Tip
When coloring textured hair, always find out if the hair has been relaxed. If so, it’s necessary to use 20-volume developer instead of 40-volume to avoid damaging the hair.
4. Light Vs. Dark
When deciding on where to place your color, remember the power of dark versus light. “Light expands and darkness disappears,”says Guy. “A sweeping area of light can draw attention, making the hair look longer and fuller.”

5. Innovative Tools Feed Inspiration
It’s important not to set boundaries for yourself. In order to keep it fresh, you need the most innovative tools. To continue to be inspired, you need to use the color that most inspires you—whatever new or old favorite that may be!
6. Color For the Cut
Because balayage highlights are typically applied to mids and ends, it’s essential to understand the shape of the cut, especially if your salon is departmentalized and you’re not the one with the shears. “The consultation is critical. If there are going to be a lot of layers,” says celebrity stylist George Papanikolas, “you’re going to have to stack a lot of color. Blunt, one-length cuts require fewer highlights. And guess what? I always encourage blunt, one-length cuts!”
7. The Price of Art
Balayage takes practice to perfect, and you’re charging for your artistry and your expertise. “So I charge the same amount,” says George, “whether I’m putting in 12 foils or 25.”
8. See What the Client Sees
The three places the client sees are around the face, on the ends in front and along the part. “She doesn’t care about the back,” declares George. “So if you’re in a hurry, focus most of your time and effort on these areas. The rest doesn’t matter. And, in the face-frame sections, you can place the highlights closer to the roots.”
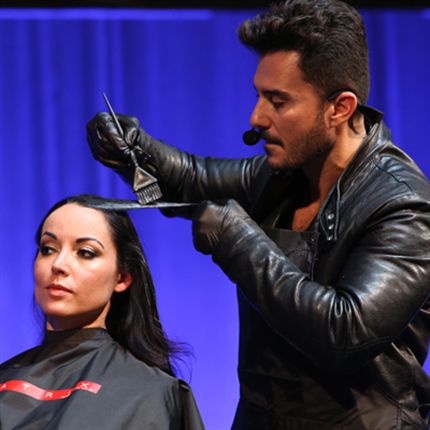
George teaching balayage on the BTC stage
at the first-ever “On Tour” last year.
9. Fast But Not Careless
It’s great to be fast, but be careful not to become “mechanical.” Look at the hair as you’re working. Make judgments about every piece. When you get to sections you’ve already highlighted, be deliberate about matching and blending the new color with the existing color. Never just work “by the numbers.”
10. Always Look at the Skin Tone!
“You don’t want to make color the problem or make people look ridiculous,” color queen Beth Minardi says. “So formulate your color the same way you would any shade—by taking skin tone and eye color into careful consideration!”
11. Go for Control
Clean sections allow you to create more control and get really close to the retouch area, says L’ANZA Global Healing Color Director Leah Freeman. She also suggests spraying the down the base of the hair before applying color to give your sections a little added moisture.

