
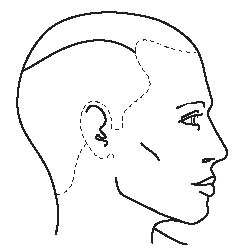
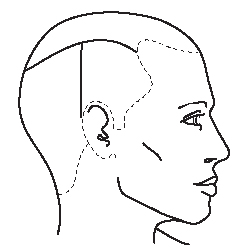
Kurt Kueffner DNA Collection “George” Cut

Advertisement
Advertisement
Kurt Kueffner DNA Collection “George” Cut
HOW-TO STEPS 
-
 1
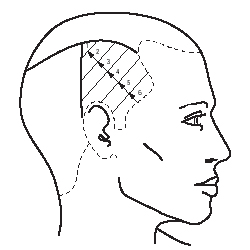
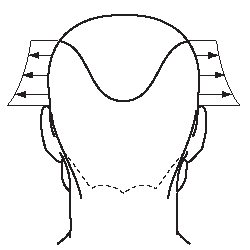
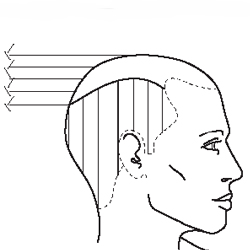
1Establish primary partings as an hourglass that separates the top and bottom of the cut from 1-inch below the recession point beginning a steep arch upward, until just over the ear, when the parting begins to drop down. This will preserve the length in the front of the hair cut. NOTE: the higher the parting on the side, the more narrow the interior shape.
-
 2
2At the back of the head, begin to slope parting downward to the approximate center of the occipital bone. How low the parting is placed will determine how elongated the shape becomes and determines the emphasis of the cut’s profile. Continue around the head to opposite side. The upper panel will be disconnected from lower panel. Clip upper half away.
-
 3
3Create a straight vertical parting from the primary parting to the back of the ear.
-
 4
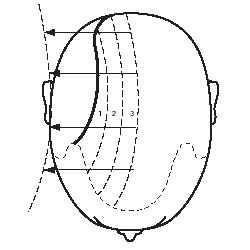
4Starting in the interior of the shape, create a triangular section. Work toward sideburn. Take subsections straight off head and cut to approximately 1 ½ – 2 inches in length. Direct subsequent partings back to the first stationary guide and continue working. Repeat on the opposite side of the head.
-
 5
5After completing both temples, take vertical section behind left ear. Cut vertical shape connected to guide at top of section behind the ear.
-
 6
6Complete the entire back of head, working into a tighter tape at the nape where necessary.
-
 7
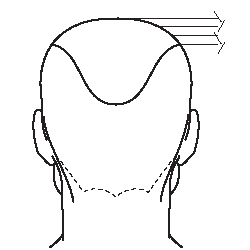
7Transition to top panel by standing directly in front of the right side of your guest. Begin with a crescent-shaped parting as illustrated, creating a new guide for top half of shape. NOTE: the more extreme the concave angle, the greater the contrast of the disconnection there will be. Take this section straight off of the head, parallel to the floor. Cut shape that mirrors your parting, establishing your guide for the top of the cut. Continue working in ½ inch parallel sections until you reach the opposite side of the head.
-
 8
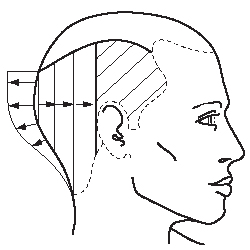
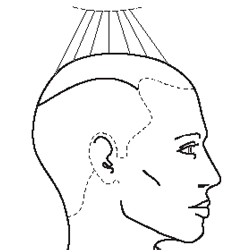
8Standing behind your guest, take ½ inch vertical parting across the top of the head directly behind the ear. Pull the hair straight off the top of the head and establish the final length for the top according to design objective. This becomes a stationary guide for top of head. Work in ½ inch parallel sections toward the front, directing hair back. Then stand in front of the guest and repeat parallel sections from guide to the back of head.
-
 9
9Customize the length in front, combing and slicing hair to natural fall, according to your design objective.
-
 10
10Using a razor, remove extra weight to create final form.
-
 11
11
YOU MIGHT LIKE THIS
TRENDING NOW!
-
BTC Hair Trend Report
The Biggest Haircut Trends of 2024
-
Monthly Product Launch List
11 New Game-Changing Hair Launches To Add To Your Arsenal
-
Copper
What Is The "Cowboy Copper" Hair Trend? Here's What It Really Means...
-
Frizz
Straighten & Smooth 2A, Fine-Medium Density Hair
-
Copper
Muted Bronze
-
Blonde
Conditioner Before Toner: Common Hair Myth Debunked
-
BTC Hair Trend Report
WWYD: How Hairstylists Are Navigating Inflation
-
Haircuts
SHAG 101: The Dos And Don'ts

