
Glacial Star from Schwarzkopf Professional

Advertisement
Advertisement
Advertisement
Advertisement
Advertisement
Advertisement
Advertisement
Advertisement
Glacial Star from Schwarzkopf Professional
HOW-TO STEPS 
-
 1
1Schwarzkopf Professionals Color Formulas
Existing Color: Faded Level 7 copper on midlengths and ends
Base: Natural Level 6
Formula A (prelighten on midlengths and ends): Mix 1 part (30g) BLONDME Premium Lift 9+ + 1.5 parts (45g) BLONDME Premium Care Developer 6% (20-volume)
Formula B (prelighten on regrowth): Mix 1 part (20g) BLONDME Premium Lift 9+ + 1.5 parts (30g) BLONDME Premium Care Developer 2% (7-volume)
Accent Formulas
Formula C (accent): Mix 1 part (45g) IGORA VIBRANCE GLOSS & TONE 8-0 (15g) + 9.5-1 (30g) + 1 part (45g) IGORA VIBRANCE GLOSS & TONE Gel Developer 4% (13-volume)
Base: Prelightened to pale yellow.
Formula D (accent): 1:1 IGORA EXPERT MOUSEE 9.5-12 + IGORA EXPERT MOUSSE 8-1
Formula E (accent): IGORA EXPERT MOUSSE 8-1 (tennis ball size amount) + IGORA EXPERT MOUSSE 3-0 (ping pong ball size amount)
Base Formula
Formula F (base): IGORA VIBRANCE GLOSS & TONE 0-00 (60g) + IGORA ROYAL 0-22 (1g) + IGORA VIBRANCE GLOSS & TONE Gel Developer 4% (13-volume) -
 2
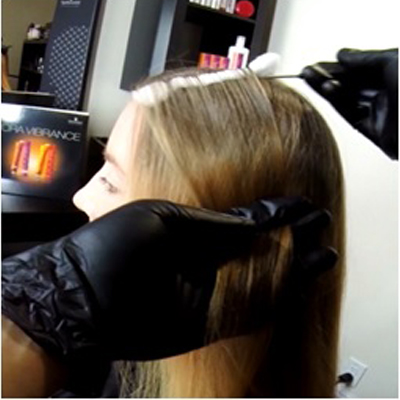
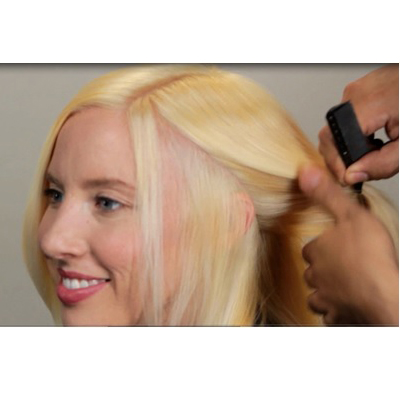
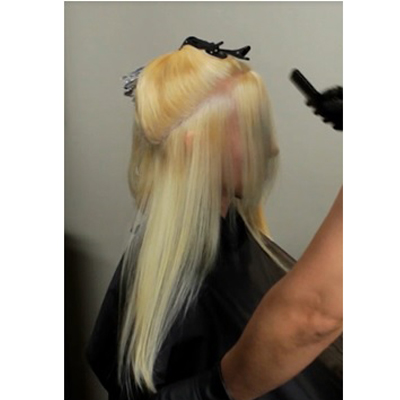
2Apply Formula A at the color demarcation line through midlengths and ends.
-
 3
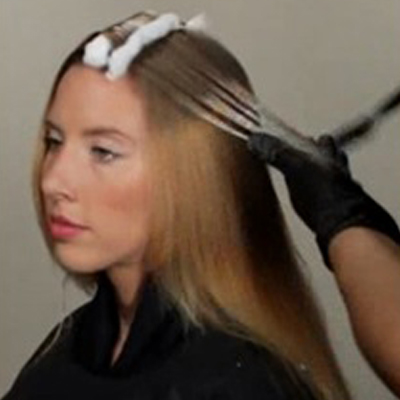
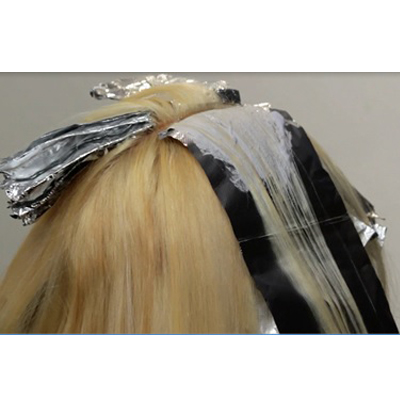
3Use cotton strips to elevate the hair at the scalp area.
-
 4
4 -
 5
5Once the midelnegths and ends have been lifted to a yellow stage, apply Formula B to the natural regrowth area.
-
 6
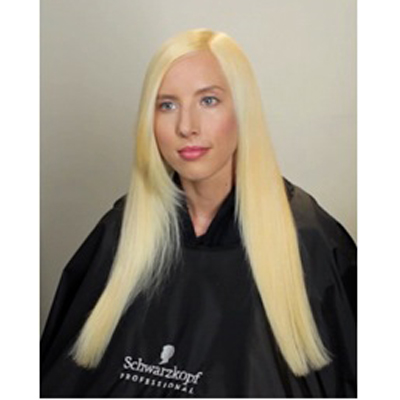
6Process Formulas A and B for 45 minutes, until the hair has lifted to a pale yellow. NOTE: It’s crucial to lift to a true Level 9, Yellow during the pre-lifting stage.
-
 7
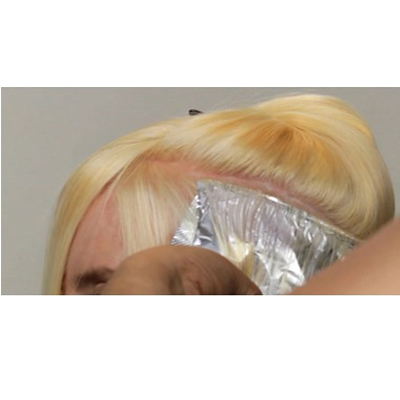
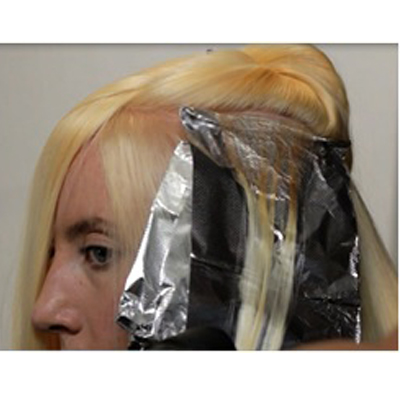
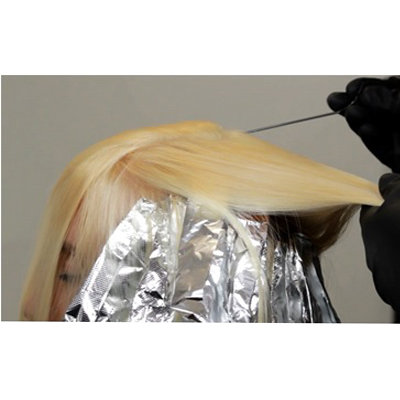
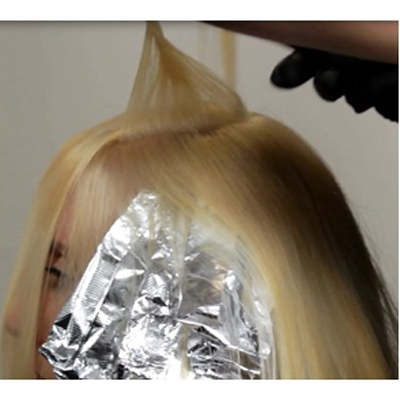
7Drop the first front section.
-
 8
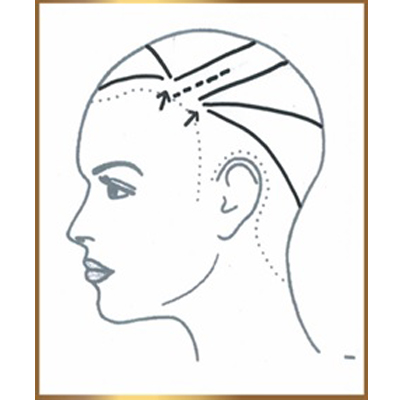
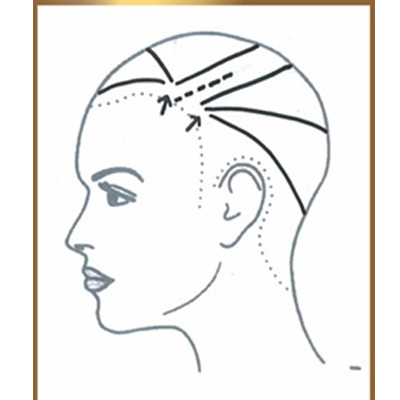
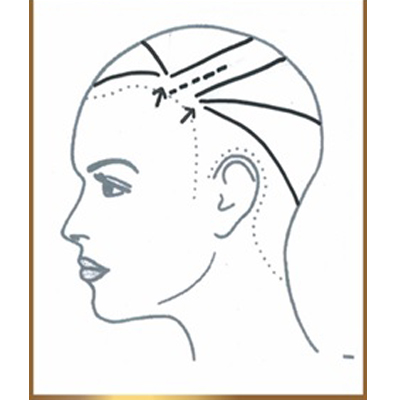
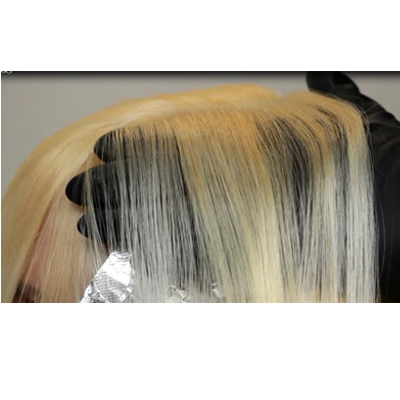
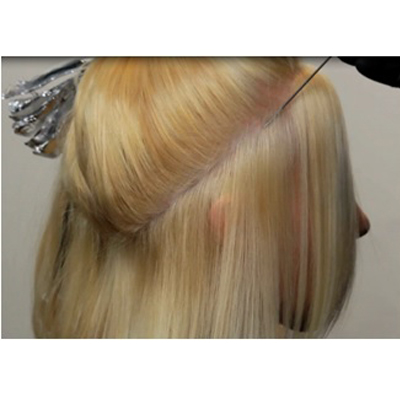
8Apply Formula C, as shown in the diagram.
-
 9
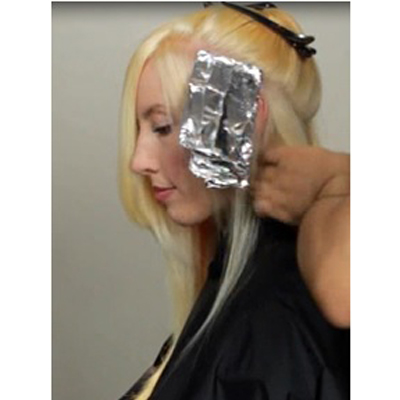
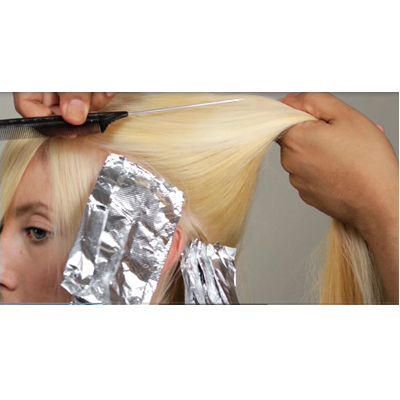
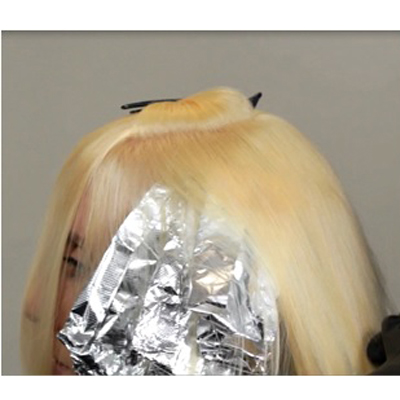
9Continue to work around the head in fine sections. Secure with foil.
-
 10
10Use the recess area as the starting guide, and follow the section placement in the image.
-
 11
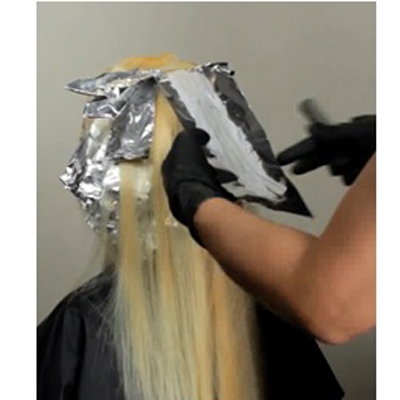
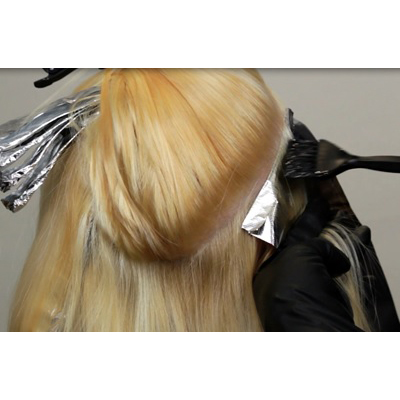
11Continue to pivot upward, working toward a horizontal horseshoe that will be buried just below the surface of the hair, above the rounds of the head.
-
 12
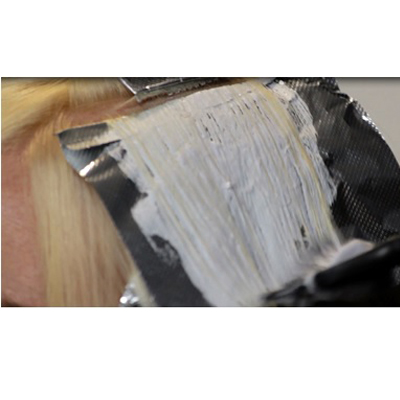
12Apply Formula D with a bowl and brush.
-
 13
13 -
 14
14 -
 15
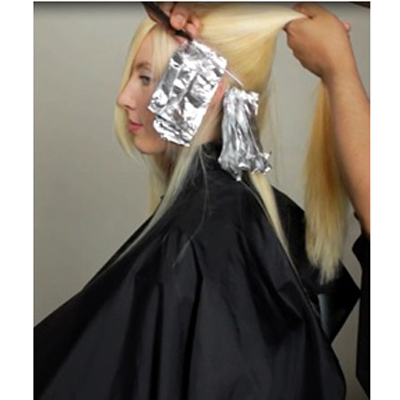
15Continue to pivot as you move into a true horizontal horseshoe that will be buried just below the surface above the rounds of the head. Return to Formula C.
-
 16
16 -
 17
17 -
 18
18Place Formula E at a true horizontal horseshoe placement.
-
 19
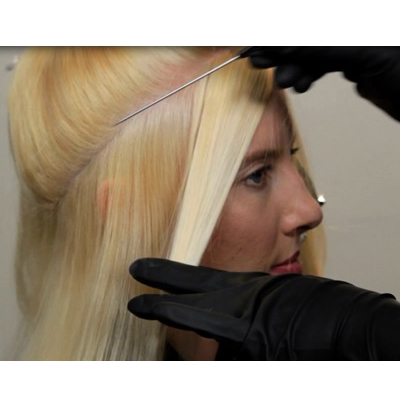
19Misael’s Tip: Use the hair above to slightly cover this placement, and take a very thin slice from the top. Assess the sheerness by ensuring that you can see your glove. If you can’t see the glove, you will not be able to see the color accent. Clip away this section.
-
 20
20After you have clipped away the top section of the hair as describes, start applying Formula E with a bowl and brush.
-
 21
21 -
 22
22 -
 23
23Find your axis line and create the same section as on the left side of the head.
-
 24
24 -
 25
25 -
 26
26If your client would prefer, the Formula C accent color can be carried through into the fringe area. You can place color past the temple pivotal point and stop just below underneath the seem of her side part. So, when she sweeps, she will have a solid base falling over, allowing this color element to “peekaboo.”
-
 27
27Continue the same sectioning and coloring process on the opposite side of the head. Apply Formulas C, D and E.
-
 28
28 -
 29
29 -
 30
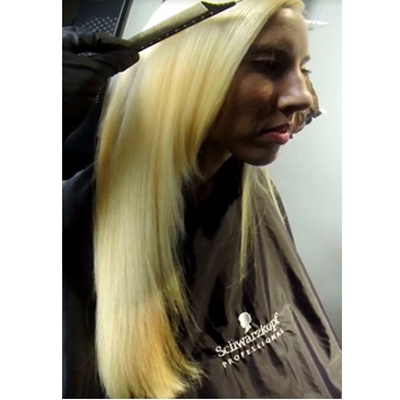
30After you have completed the third color accent, Formula F on both sides, apply the base color to the hair that is not colored. Process for 25 minutes.
-
 31
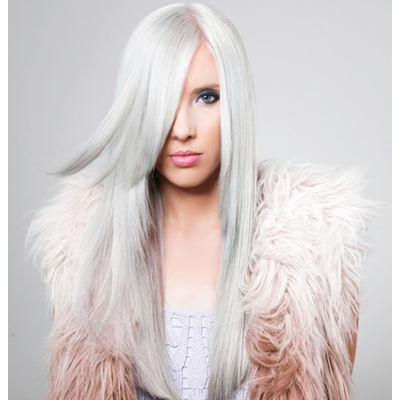
311. Apply OSiS+ Session Label Silk Cream. While blow-drying, use a boar bristle brush to create a sleek look.
2. Use OSiS+ Flatliner and OSiS+ Sparkler with a low heat flat iron to polish it off. -
 32
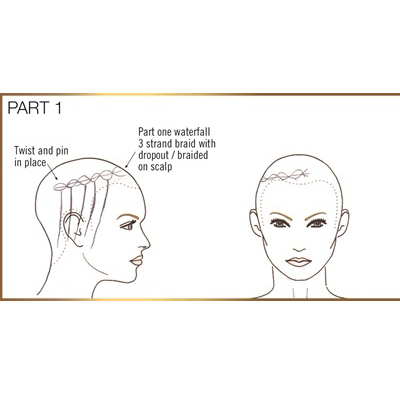
321. Start this braid from your client’s part, and work in a diagonal back section.
2. Start a small “on scalp” waterfall braid: This is done by starting with a normal three-strand French braid.
3. Every time the last strand is at the bottom you drop out a section of that strand and continue working back to about 2 inches behind the ear.
4. This should leave you with about 4 to 6 waterfall pieces.
5. Before moving on to the next part of the braid twist the leftover hair once, and pin it into place. -
 33
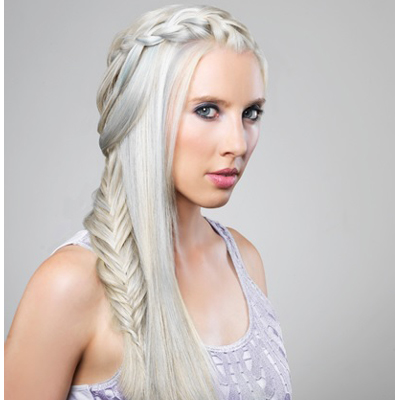
336. Separate the pinned hair into 2 sections.
7. Begin a normal fishtail braid, but after every third rotation bring the closest waterfall strand into the opposite side of the fishtail (as well as a small free section from the left side of the braid, this will pull it tight and tie it in).
8. Once you run out of waterfall strands, continue the normal fishtail and use a clear elastic.
9. Be creative; feel free to separate and open up the braid as you like.
YOU MIGHT LIKE THIS
-
Blonde

Cool Platinum Blonde
-
Blonde
Ultimate Platinum Blonde
-
Blonde
Arctic Blonde
-
Blonde
Icy Pearl Blonde
-
Blonde
How-To: Platinum Power Lob
TRENDING NOW!
-
BTC Hair Trend Report
The Biggest Haircut Trends of 2024
-
Blonde
Conditioner Before Toner: Common Hair Myth Debunked
-
Monthly Product Launch List
11 New Game-Changing Hair Launches To Add To Your Arsenal
-
Copper
What Is The "Cowboy Copper" Hair Trend? Here's What It Really Means...
-
Copper
Muted Bronze
-
Haircuts
SHAG 101: The Dos And Don'ts
-
Frizz
Straighten & Smooth 2A, Fine-Medium Density Hair
-
Business
Don't Fall Victim To Hair Industry Greenwashing—Read This First

