
4 Color Level Rules You Need to Know!

An arctic blonde goes brassy. Washed out highlights look flat and white. Roots get so hot you run for the fire extinguisher. To avoid these color calamities, follow these four level rules.
1. Identify the Natural Level
It may sound simple: to follow the three-level rule, you have to know the client’s natural level. But that born-with-it color isn’t always as obvious as you think. “Don’t assume you can read your own levels without using a swatch for comparison,” says Haircolor Expert James Jordan. “Use a swatch book, and be sure to hold the swatch in the same direction as the hair growth.” If you don’t correctly determine the starting shade, you’re going to have a lot of problems getting the end results you want. Brassy blondes are just one possible outcome. Why? If you wrongly assume hair is lighter than it really is, you will mix a formula that won’t be strong enough to give you the amount of lift you need.
2. Follow the “Three-Level Rule”
“One way to ensure your color won’t get out of control is to always keep it within three levels of the natural shade, whether you’re going lighter or darker,” says Linda Yodice, Artistic Director of Paul Mitchell The Color. For example, you don’t have to take a Level 4 brunette who craves a J-Lo look all the way to a 9 or 10. A better solution is to stay within this client’s “family of color” by taking her to a Level 7. This way, she won’t end up with an unattractive, overly-lightened look.
3. Consider Tonality of Natural Hair
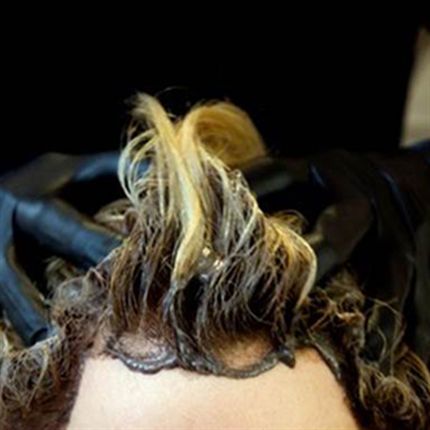
Even if you can corral highlights in place, they can end up looking washed out or gray. “Sometimes, when you check a foil weave in a packet, you think it has turned a gorgeous pale yellow,” says Linda. “Then you wash and dry the hair, and those beautiful highlights look white and flat.” Linda explains that this is caused by the natural, uncolored hair intermixing with the highlights once they come out of the packets. “It isn’t anything chemical,” she says. “It’s just that when the ash tones in the natural hair lie down beside the lifted hair, they visually ‘dilute’ the highlight color.” To prevent this, consider the tonality and level of hair that isn’t being lightened. If it’s a cooler tone overall, don’t lift your highlights as much as you’d like—leave them warmer. That way, they will have the shade you love even after hair is blow-dried.
4. Select the Right Developer
Choose a developer that isn’t the correct strength and you can be in for a lot of problems. Using a higher volume than you need can lead to the dreaded hot roots, especially when combined with too light a level of color. “If the underlying pigment is too bold for the color you choose to put on top of it, you will get that bright look in the scalp area,” says Linda. But select too low a volume, and you will bring about brassiness. “You really have to be sure to use the appropriate developer,” says Jordan. For example, if a client is a natural level six, and she’s going to a Koleston Perfect level nine, mix it with 40-volume (12%) developer. “Pay attention to the timing,” says Jordan. After 30 minutes, check the hair. “You may need to extend it 10 to 15 minutes if necessary,” he says. Whatever you need to get that icy shade she wants.

